
Welcome to Part 2 of my Big Daddy cosplay build. If you missed Part 1, it’s right here: Part 1.
In this post, I’ll be focusing on the first thing I built: the dome!
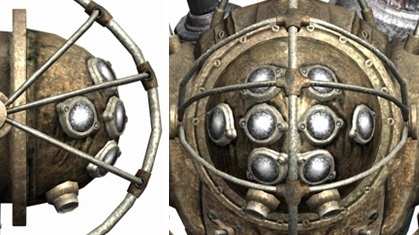
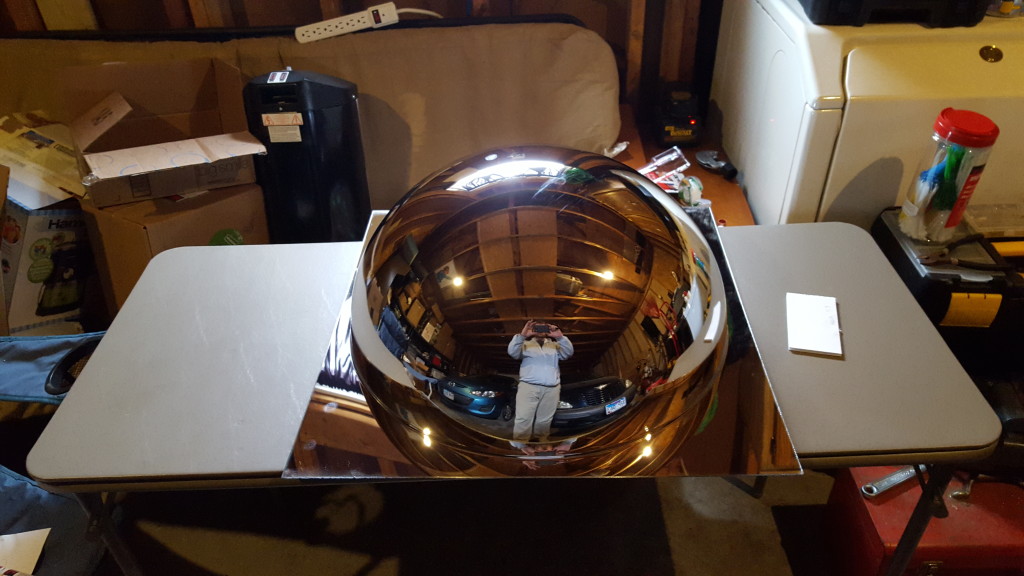
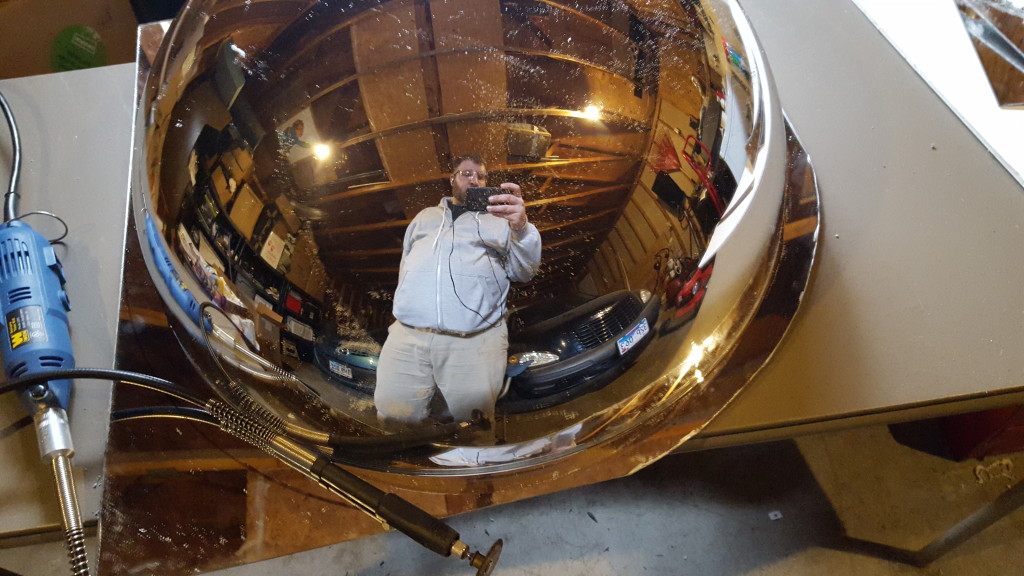
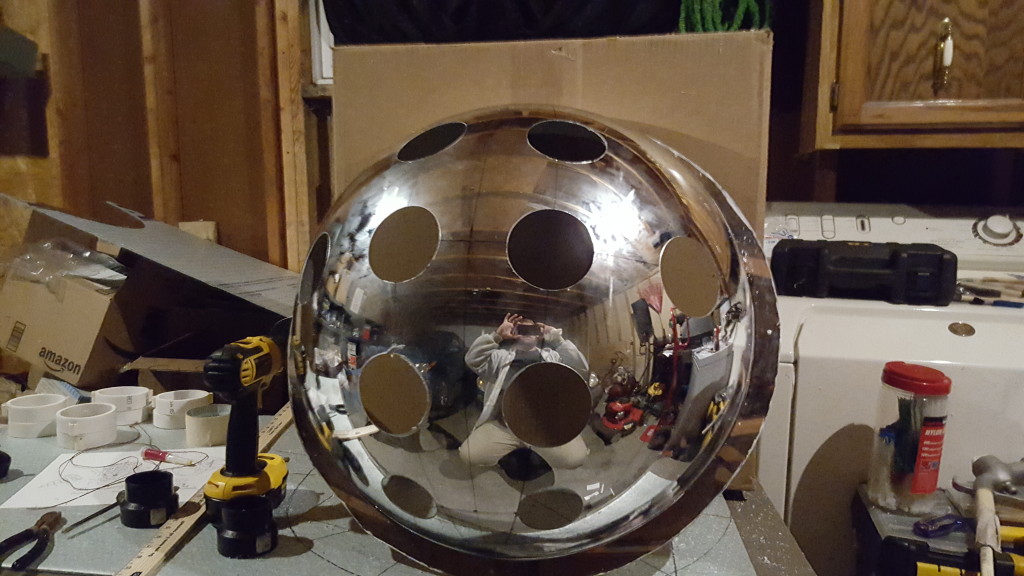
I started off with the See All PVT-BAR2X2 Panaramic Full Dome I purchased on Amazon. Knowing what I know now, if i were to start again I’d probably try to make the dome from foam which would cut several pounds from the finished costume.
The dome is meant to be dropped into a suspended ceiling, so it had a square base. This was inconvenient, but not insurmountable.
I wanted to make an even, circular lip on the dome, so I took a scrap piece of foam-core board to make a jig to draw a line 1″ from the base of the dome.
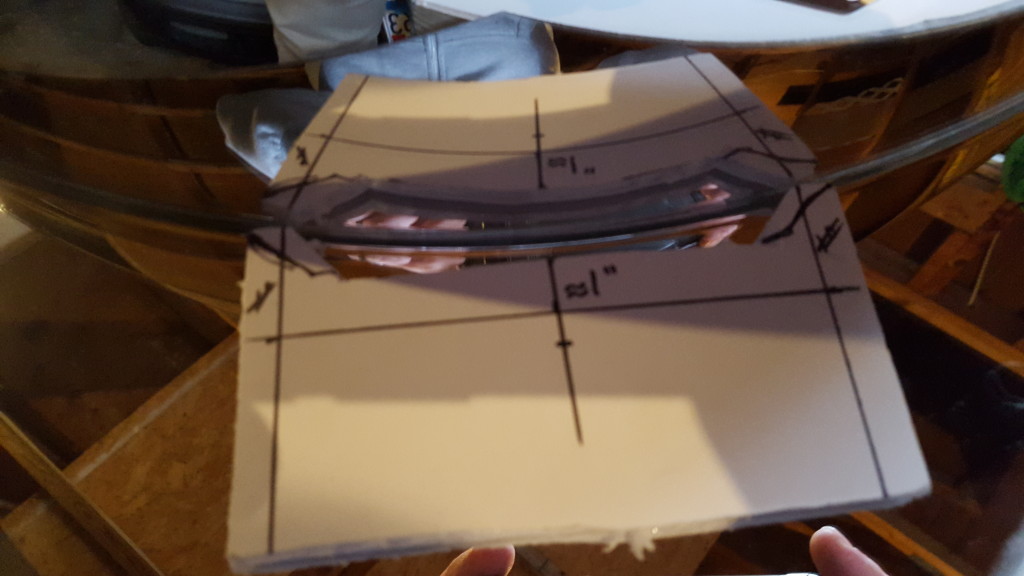
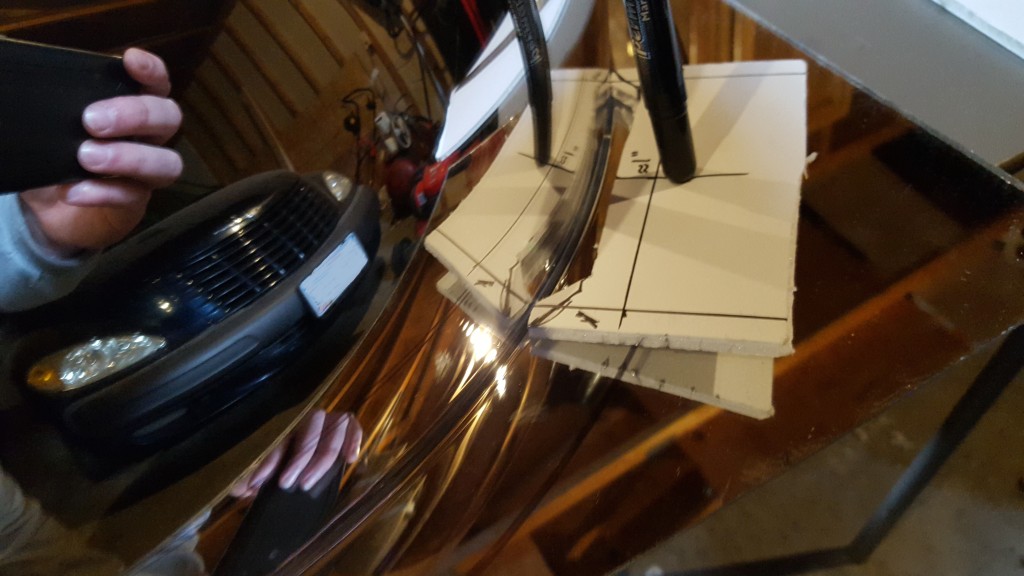
Once I had a line drawn around my dome to create a lip, I used my rotary tool and cutting wheel to trim off the excess material. The cut was a little rough, but it was good enough since I’d be using foam to finish the edges.
The next step was to plan the placement of the portholes on the dome. I hadn’t though to pick up any tag board yet, so I used some thin Styrofoam sheeting. I traced the perimeter of the dome and used some basic geometry to find the center of the circle.
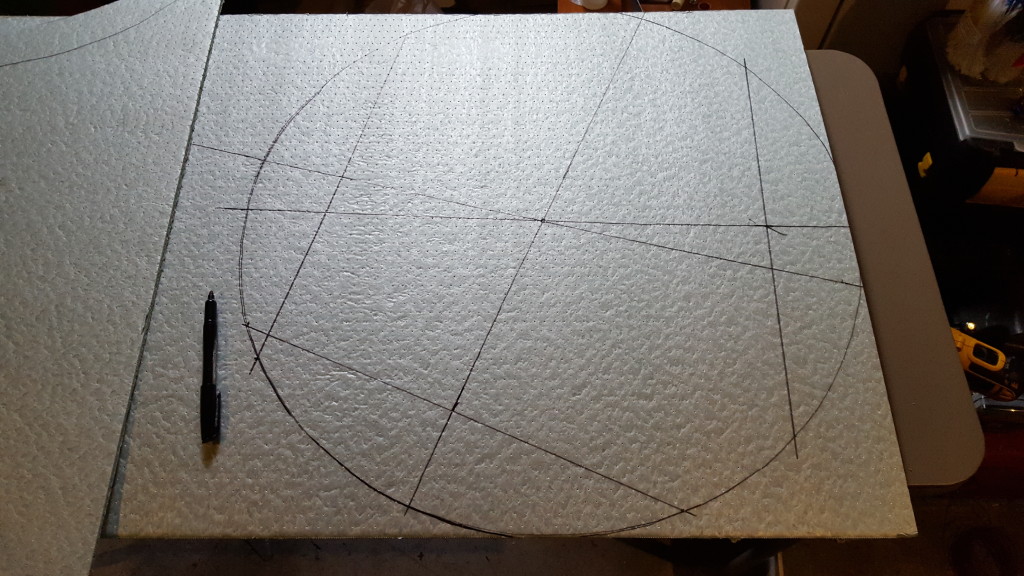
I then drew a pair of perpendicular lines that I would be transferring to the dome. I drilled four holes, each 90 degrees apart. I ran thin nylon cord through the holes so I could transfer the perpendicular lines to the dome.
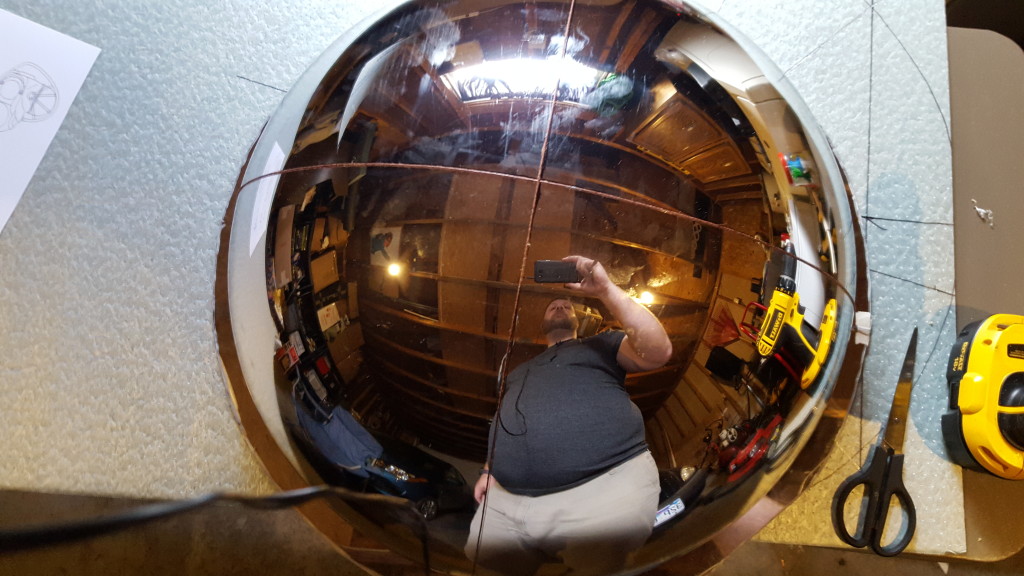
I wiggled the cords around and took a few measurements to make sure they intersected at the center of the dome. I carefully traced along the edge of the cords with a permanent marker. I used a little trial and error in making additional lines for the placement of the portholes.
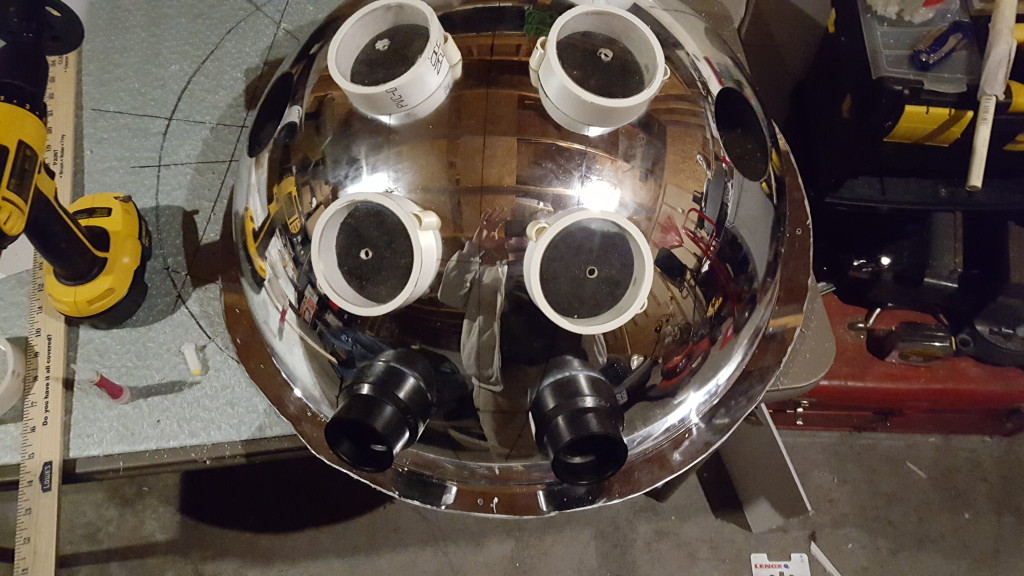
I used a hole saw to make the holes for the portholes and the vent tubes in the dome. This was a little dicey (and terrifying) because acrylic is brittle. There were a few small chips and cracks here and there, but I managed to get the holes in place.
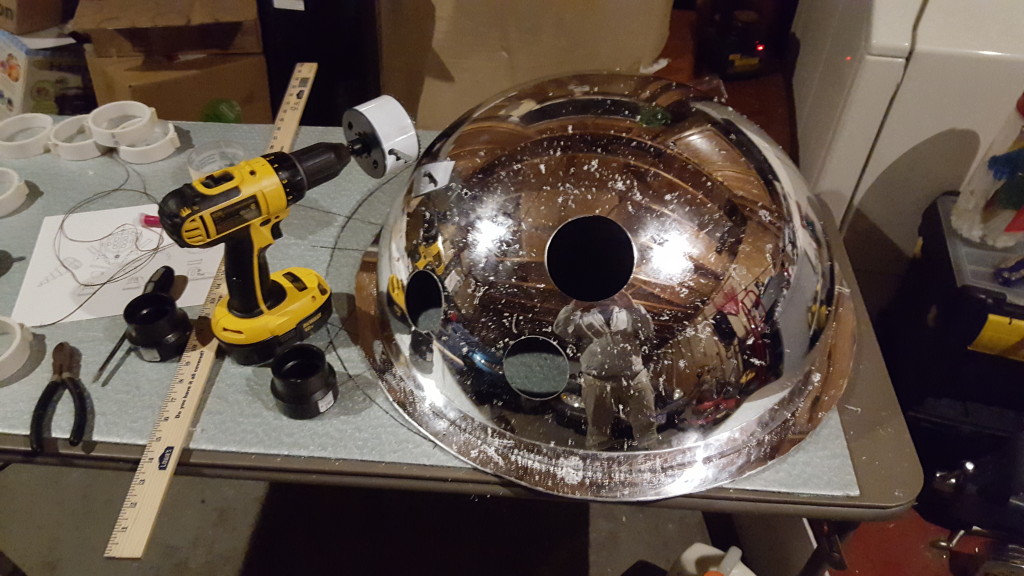
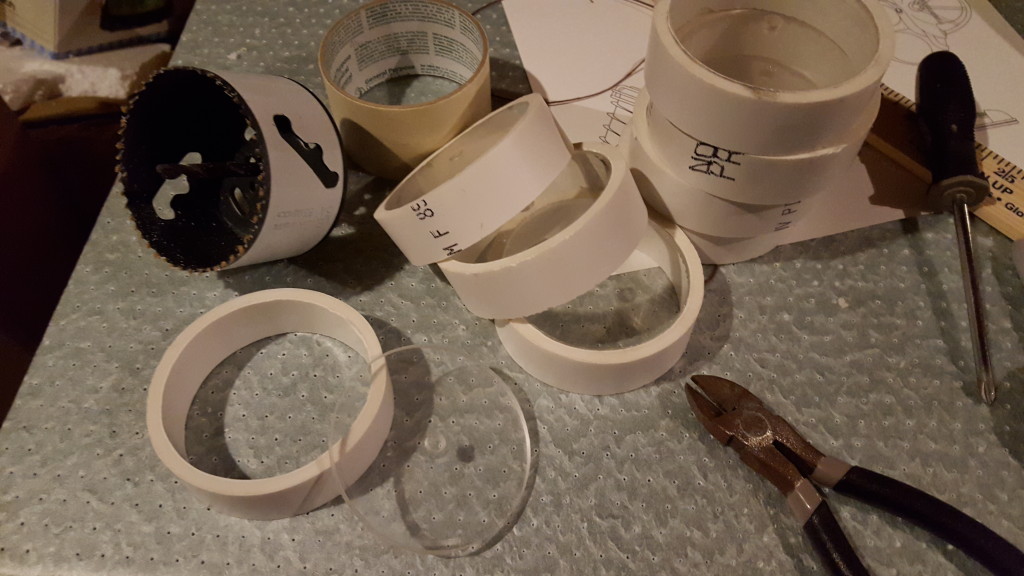
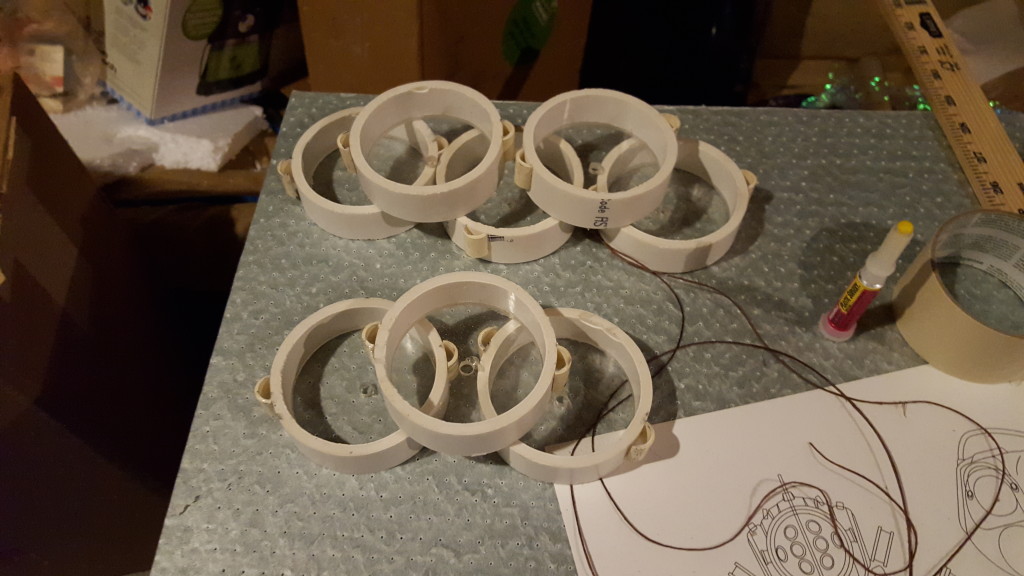
The next step was to make the portholes. I’d already picked up some reduction fittings for the vents on the bottom, but I’d have to get creative with the portholes. I took a section of 3″ PVC and cut 8 pieces that were all the same depth using my chop saw. Once again, I had to venture into the scary business of cutting acrylic with the the hole saw as I cut lenses for the portholes.
I was really satisfied with myself at this point. Things were going well, and I was pretty happy, which is when I realized I’d forgotten about the little details on the sides of the portholes.
I dug around in my pile of stuff-making scraps and found a section of CPVC pipe that I cut into sections just a little shorter than the height of the porthole. Because I’d be splitting these in half, I cut one for each of the eight portholes.
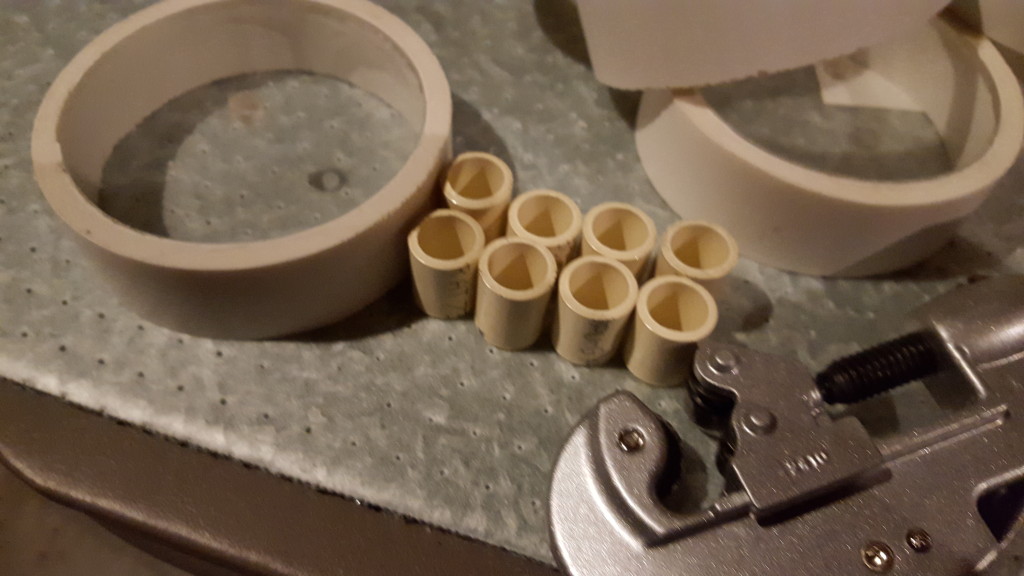
I carefully split each of the small CPVC sections in half using a the cutting wheel on my rotary tool. To help me line the pieces up, I traced the PVC pipe onto my foam and drew a line through the center.
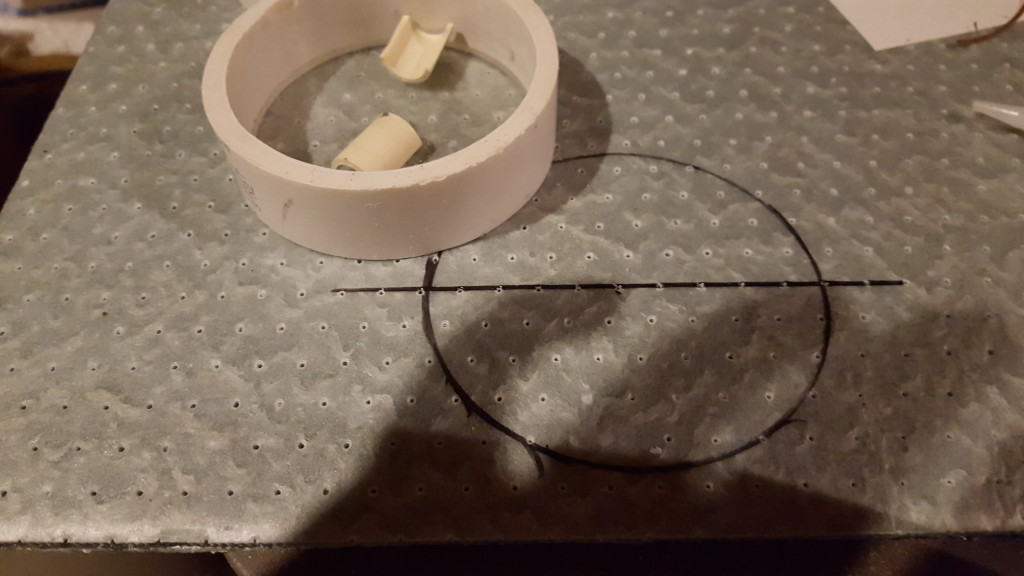
I ended up attaching the CPVC sections with superglue. This, of course, means that I superglued myself to the portholes, myself, and to various items in my garage fancy workshop!
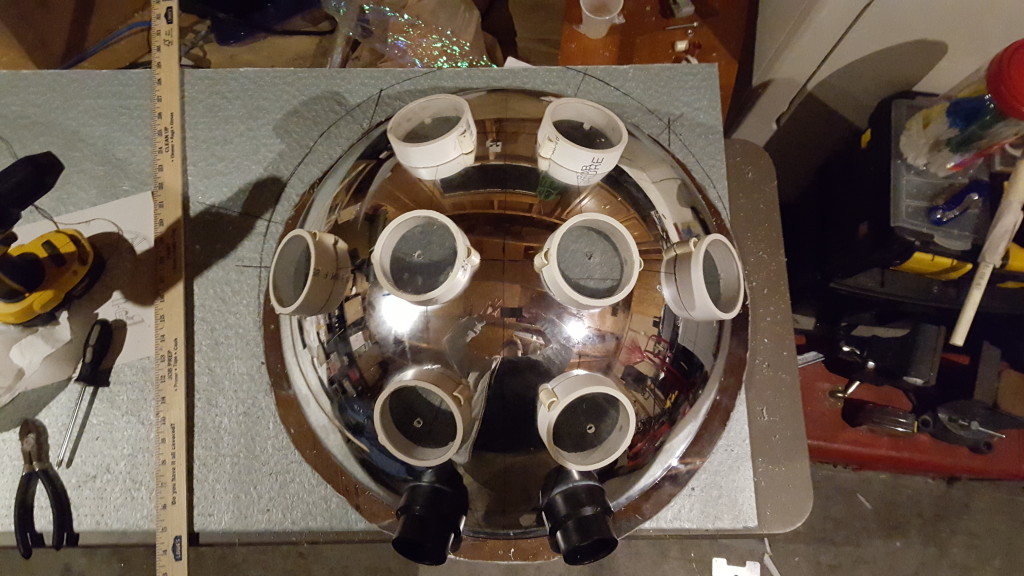
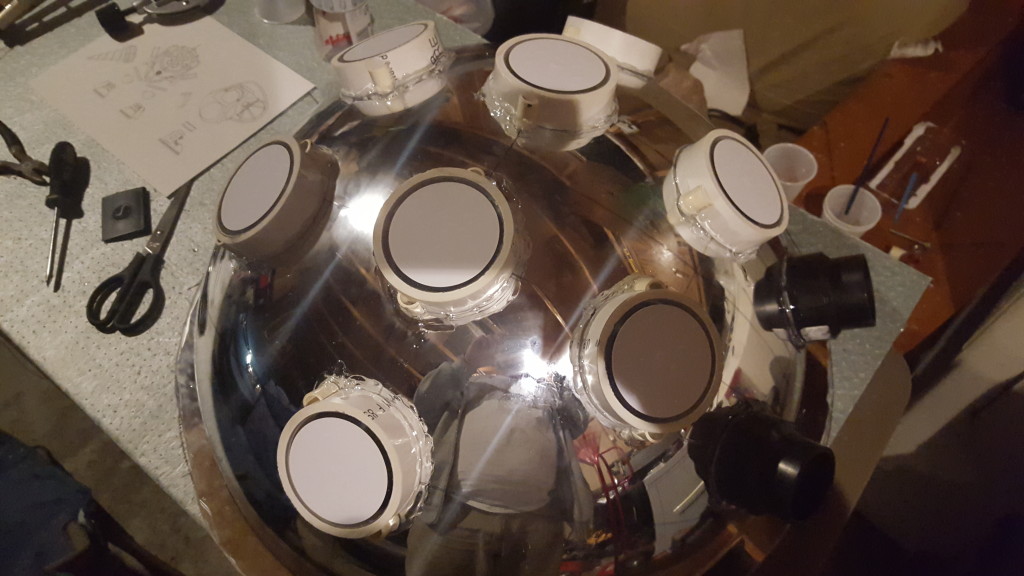
I made it out alive, though, and pretty soon had a pile of portholes.
The lenses were friction-fitted into the PVC pipes. I would later secure them with a bead of epoxy because I did not wants to use superglue on them. Superglue (cyanoacrylate glue) has a nasty habit of fogging materials like acrylic if even its fumes come in contact with it.
I also planned on epoxying the portholes and vent tubes to the dome, but I tacked them in place with the superglue beforehand.
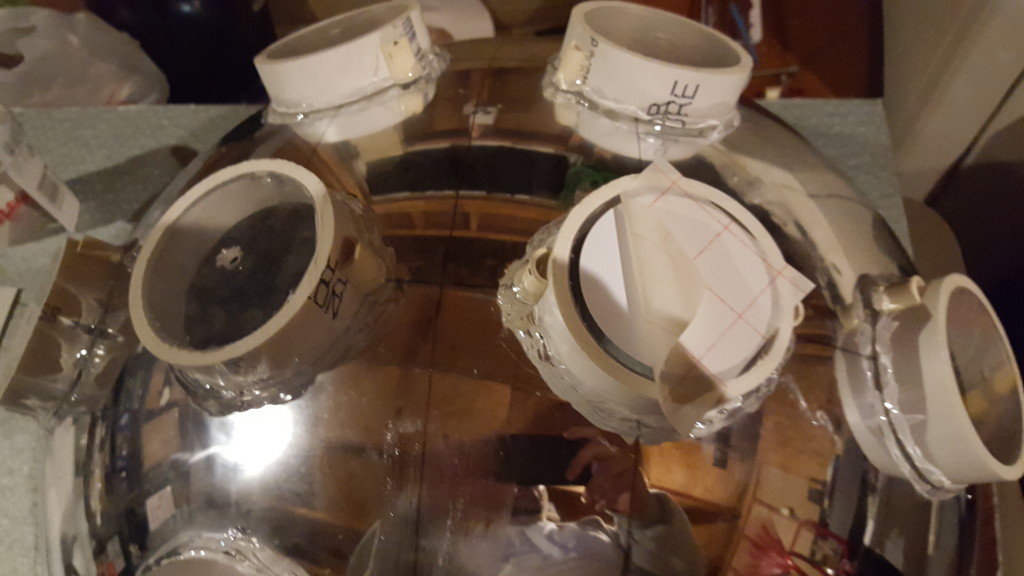
The dome itself was essentially done at this point, but since I would be lighting the portholes from behind, I wanted to make sure that they wouldn’t get painted over when I painted the dome.
Using MrsGryphon’s Silhouette Cameo paper cutting machine and some vinyl, I cut eight circles just a bit smaller than the porthole windows and applied them. I’d peel them off after I’d finished base-coating the project.
That’s it for now. Stay tuned for Part 3.