A few years ago, MrsGryphon and I were invited to a Mardi Gras party, and we thought, “Hey, masquerade masks!” We didn’t have any masks on hand, though, so we made our own! Our DIY Masquerade Mask is a fun and easy project for that last-minute Halloween costume, rainy day fun, or for those times when you just go, “Darn it, I’m gonna be fancy!”
This project start off with a low-poly papercraft mask by Kongorilla that you can download from Thingiverse.
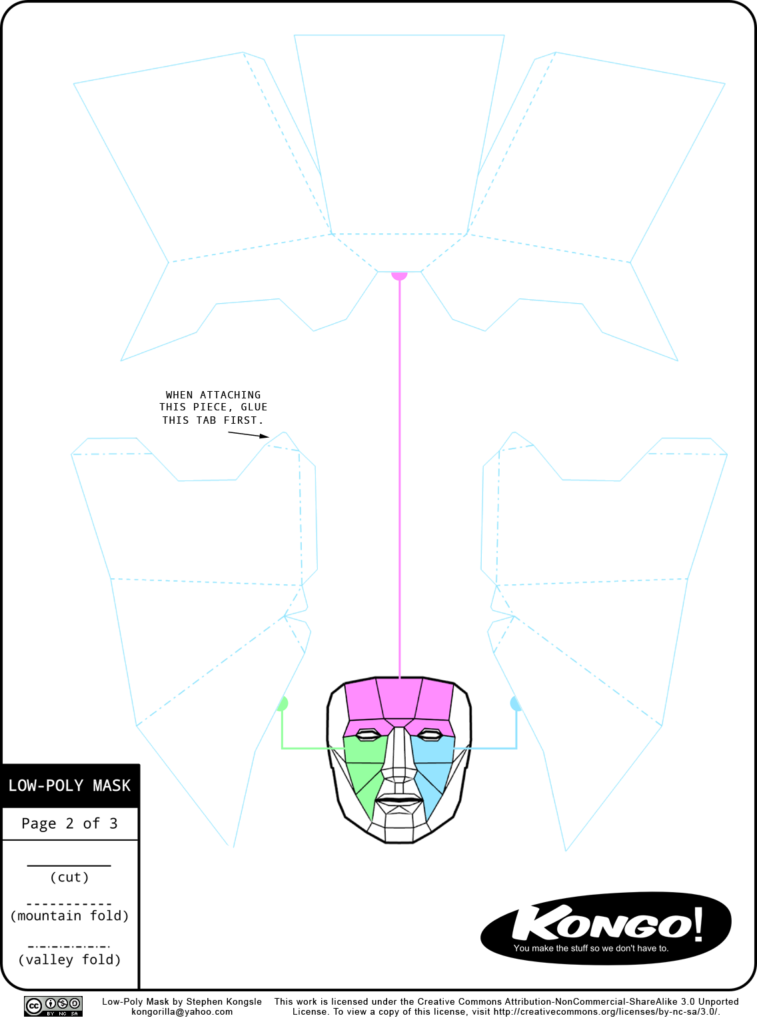
The mask prints on three pages. We printed ours on cardstock, then followed the directions to cut out and assemble the masks.
From this point on, there are no rules! (Except gravity. You have to obey gravity; it’s the law!)
The next step is to trim your mask. We went with fairly traditional masquerade mask shapes, but you can trim to any shape you want, like the Phantom of the Opera!
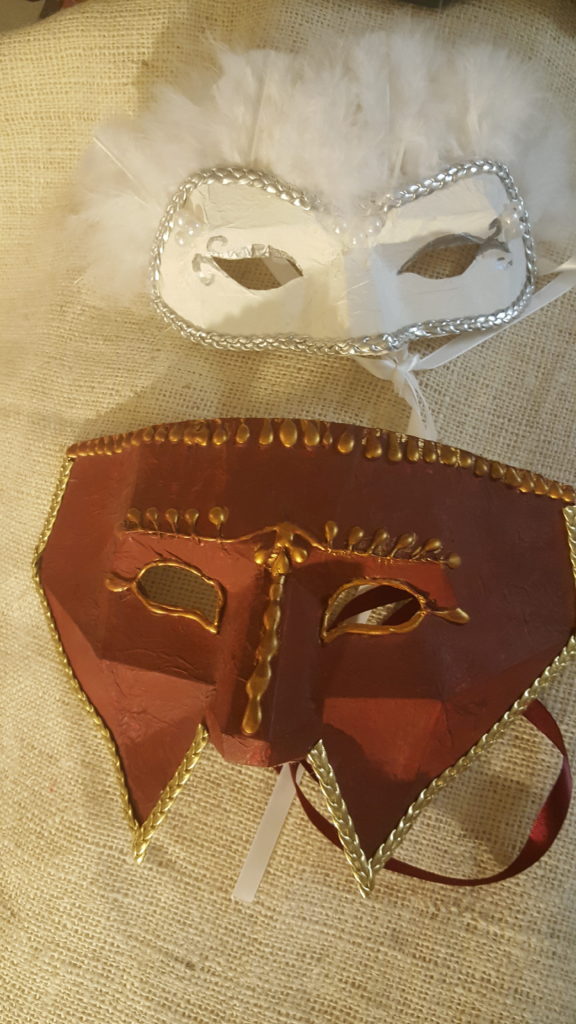
We decided we wanted a cool finish on our masks, so we crumpled up tissue paper, flattened it out, then painted the masks with Elmer’s to stick to tissue paper down. After that’s dried, it’s time to add details!
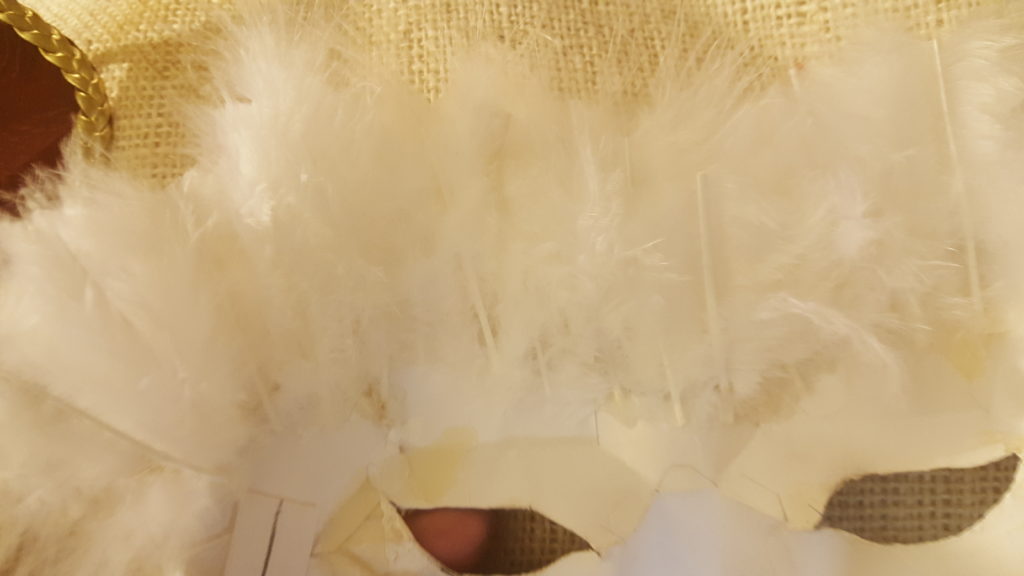
We used hot glue to add trim, beads, feathers, and even some details made right from hot glue! Go nuts! It’s your thing, do what you wanna do!
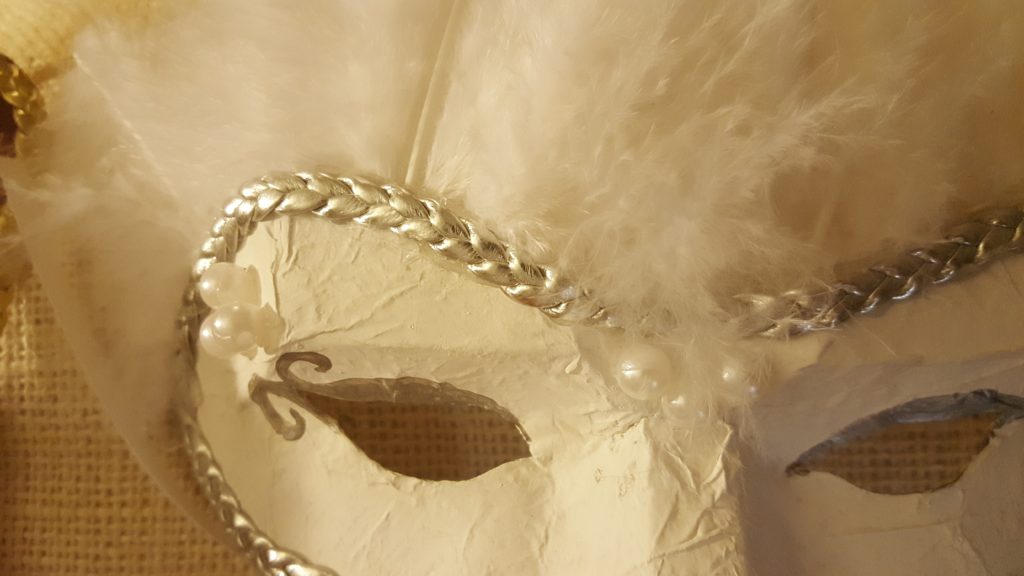
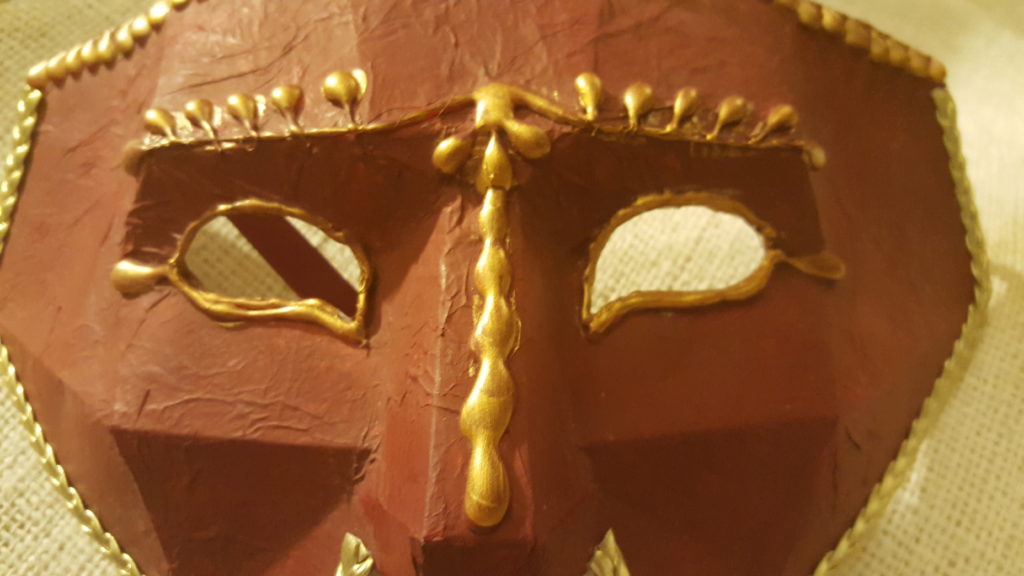
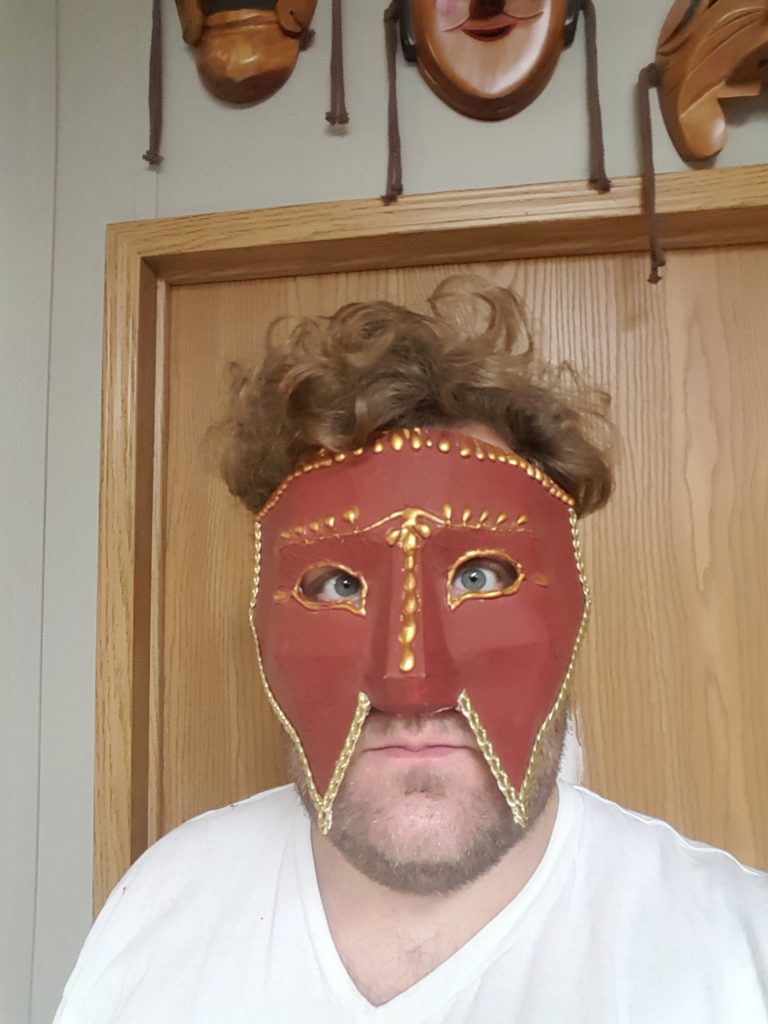
Don’t forget to paint in details and highlight any details you built out of hot glue!
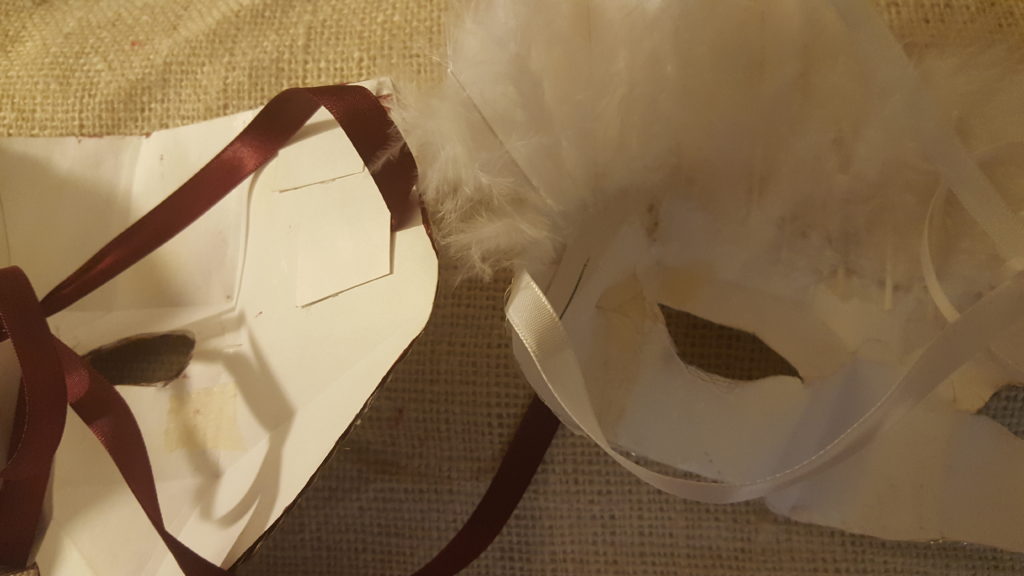
You’ll also want to add a ribbon to secure your mask. We hotglued the ribbon, then secured it by gluing on another tab of cardstock.
There you have it! Masquerade mask! It can be as easy or complex as you want, and it’s 100% you!
Have fun!