
Welcome to another zombie themed tutorial! My husband made a latex appliance for his Zombie Walk costume this year and gave me the job of painting it. This is how I did it.
Disclaimer: I am by no means an expert on special effects makeup, so I hope this encourages any beginners out there to give this a try. Zombie makeup is pretty forgiving so it’s a great way to start if you’re interested in special effects and costume makeup! If you’d rather learn from people who know what they’re doing or just want to watch some cool YouTube videos, check out our previous post: Our Favorite YouTube Makeup Tutorials
The Materials
Rather than use some fancy makeup, I decided to stick with some makeup that’s easy to find this time of year and pretty cheap. We picked up some FX Makeup Stix in basic colors and the Walking Dead Make-Up kit which included some really nice colors for zombies (so much red!).
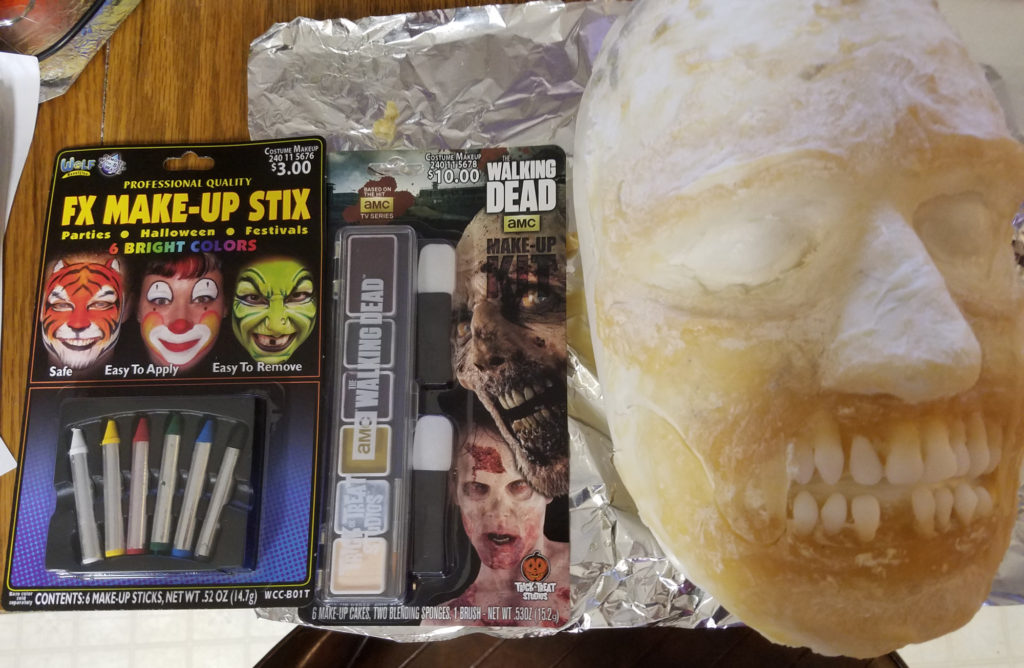
I made use of the brushes included in the makeup kit as well as some extra makeup brushes I had on hand.

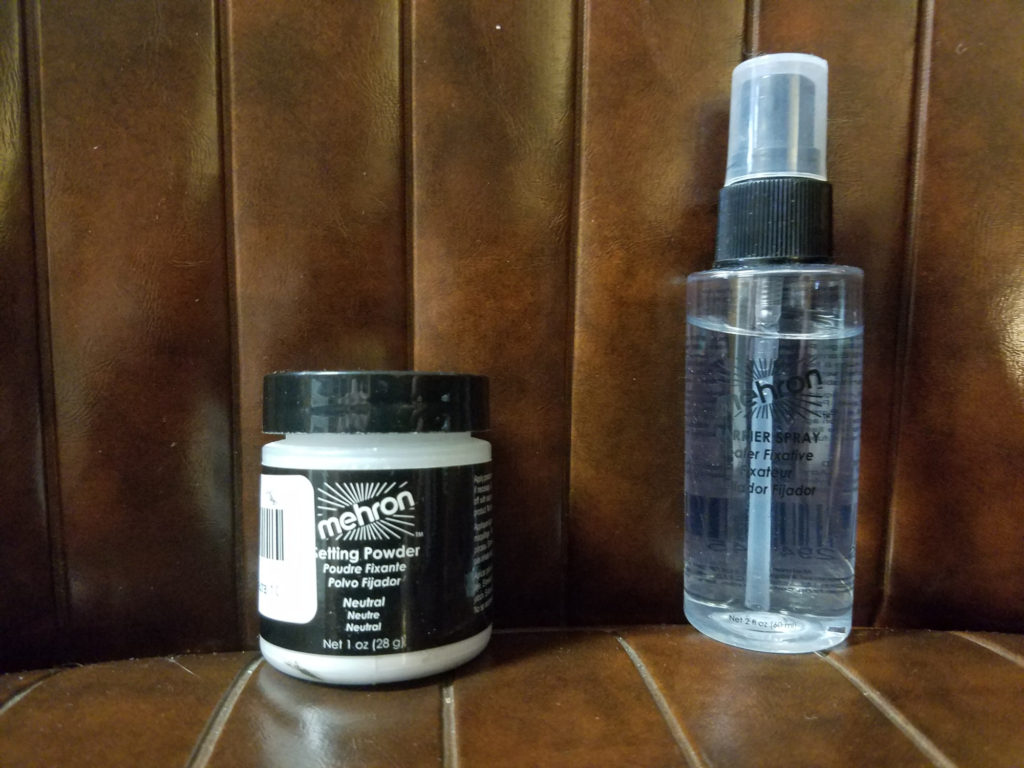
To set the makeup, I used Mehron setting powder and Mehron barrier spray (also shown above). If you’re looking to get into special effects and costume makeup, I would highly recommend both of these products. Otherwise, you can use another setting powder or even baby powder (this might make it a little pale, but that won’t really hurt for a zombie, right?).
The Makeup
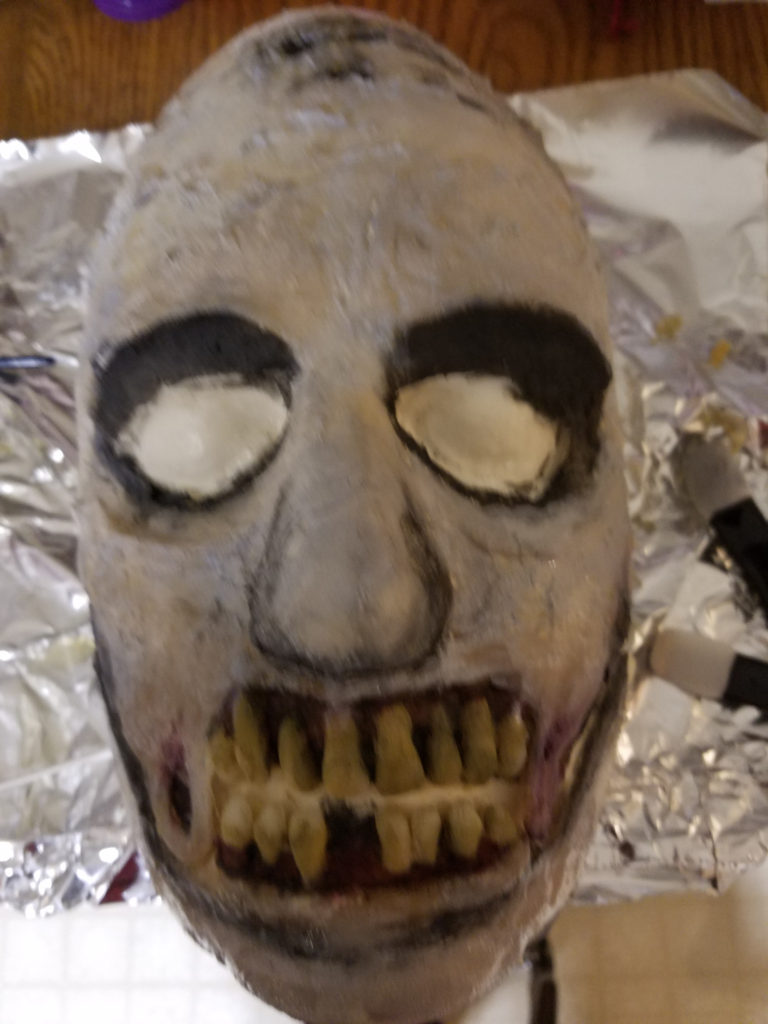
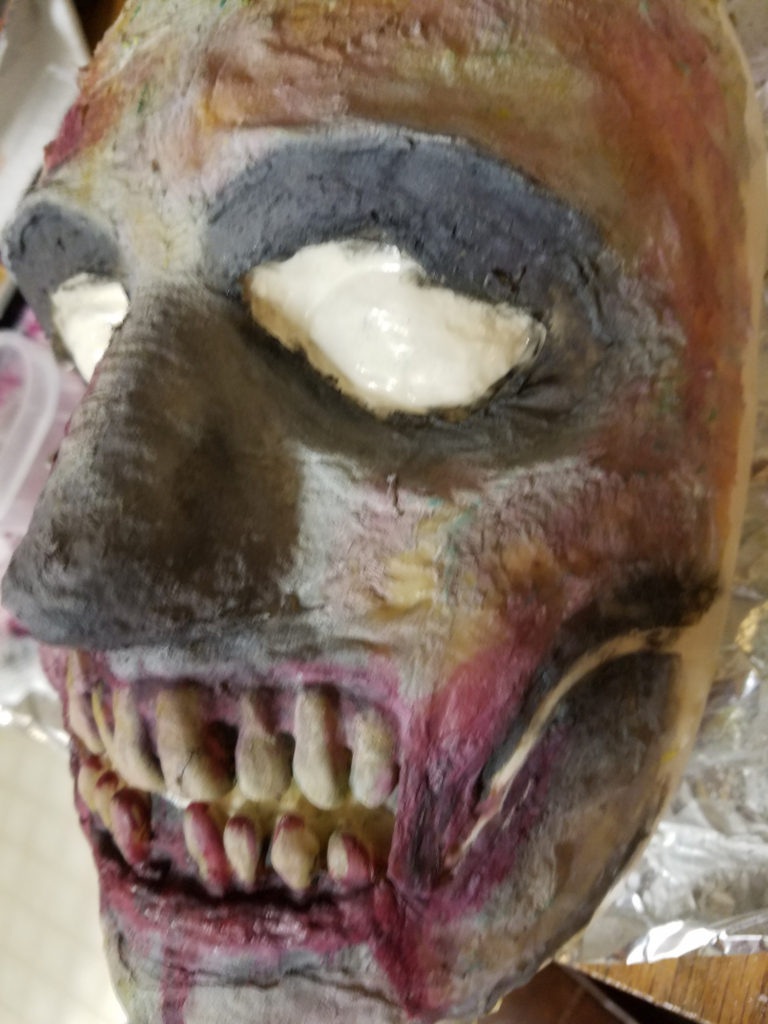
I started out by using the black in the makeup kit to fill in any areas that I thought should be the darkest (like around the eyes and along the cheekbones). This gave me a good starting point. I used the paintbrush that came with the makeup kit as well as my eyeliner brush (for filling around the teeth).
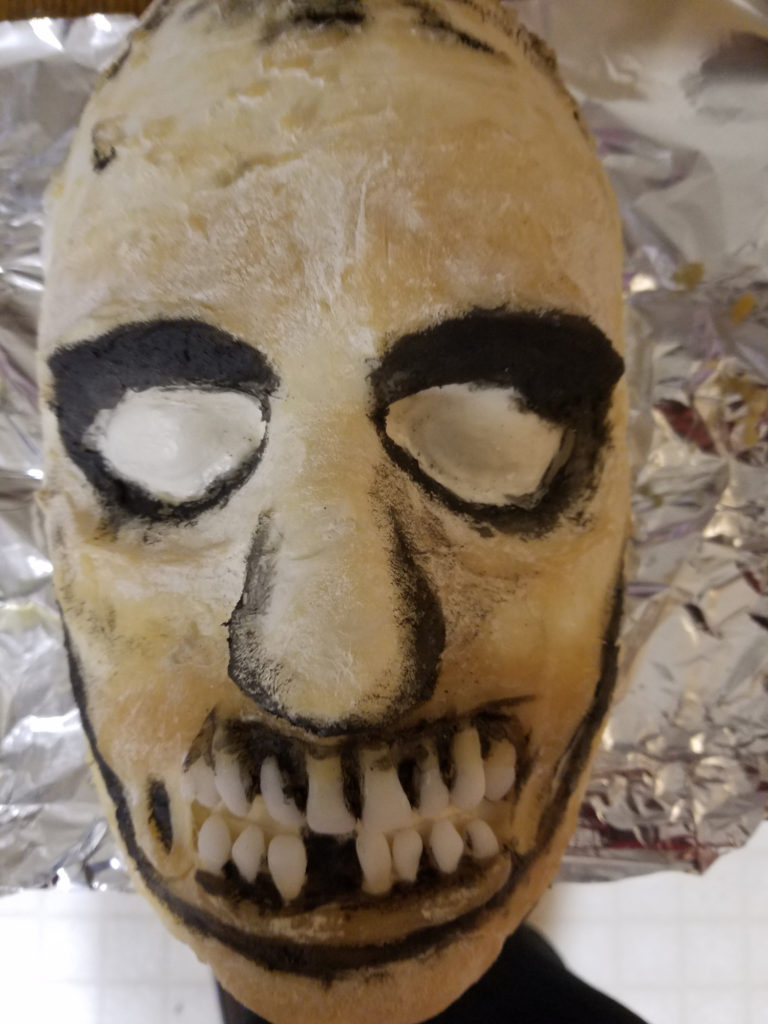
Next, I got so excited about painting the teeth that I skipped ahead to that step. I added some of the brownish yellow from the makeup kit to grunge them up as well as some purple around the gums to add a little bit of color.
Then I added some red to the gums for even more color!

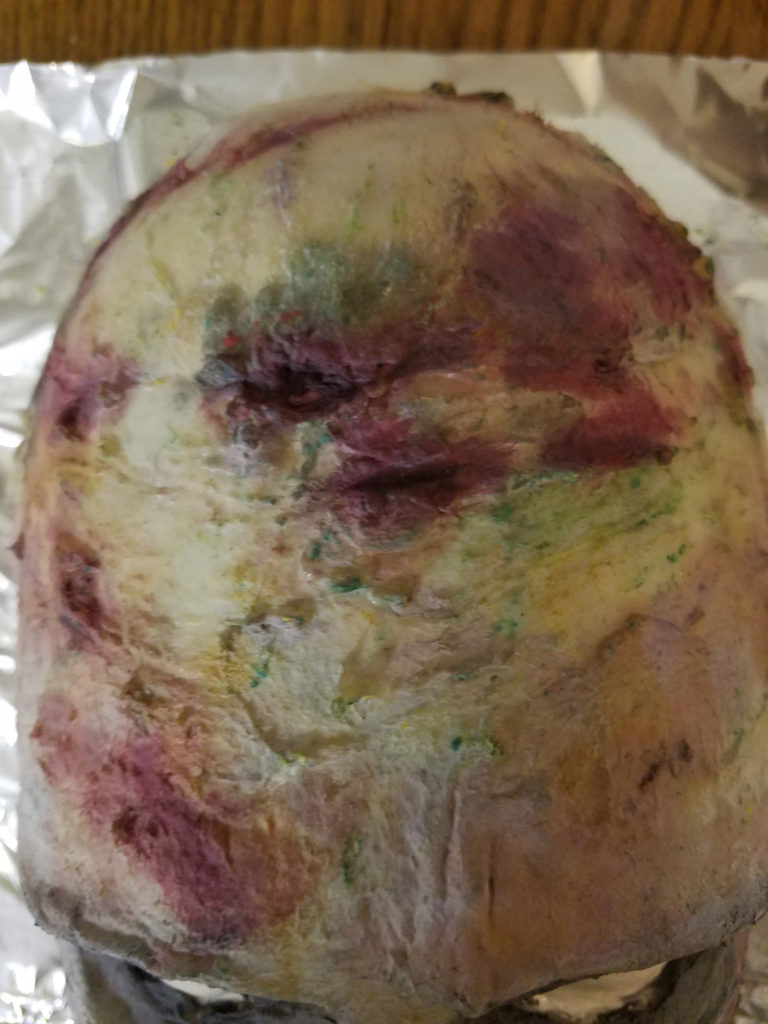
Other than the teeth, the appliance was looking a little plain, so I filled in any uncovered areas with gray from the makeup kit (sorry for the blurry picture!)
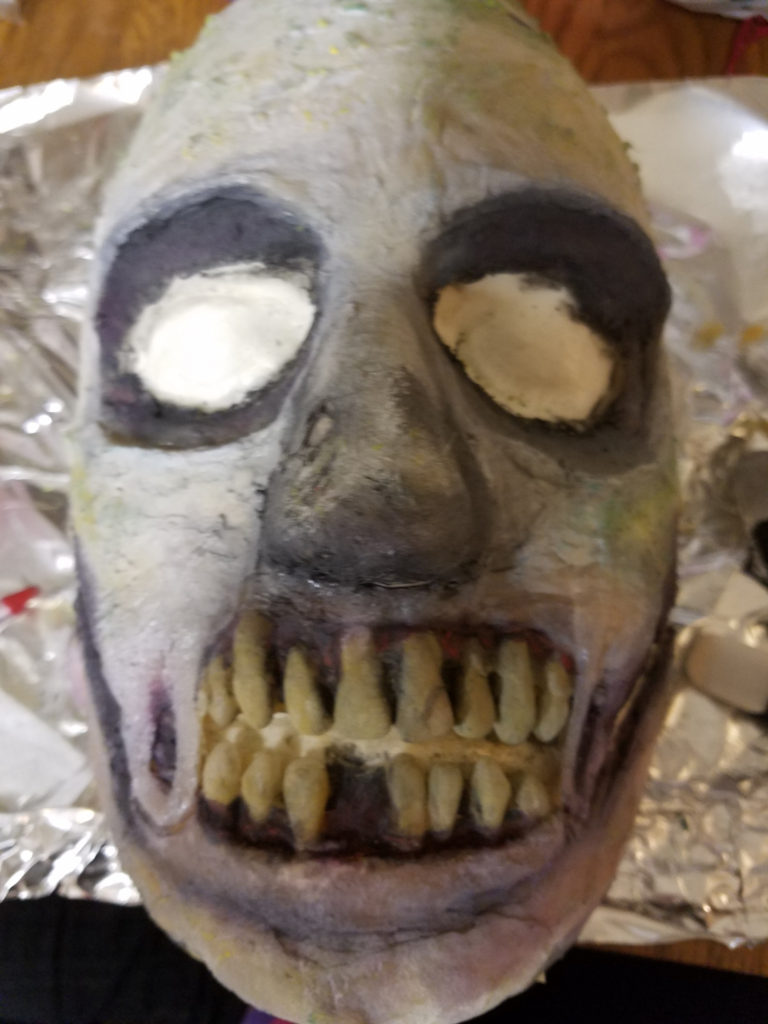
I covered my makeup progress with some setting powder, then started playing around with the makeup stix. I used the black to enhance some of the darker areas even more, then added some random splotches of yellow and green for that nice decayed look.
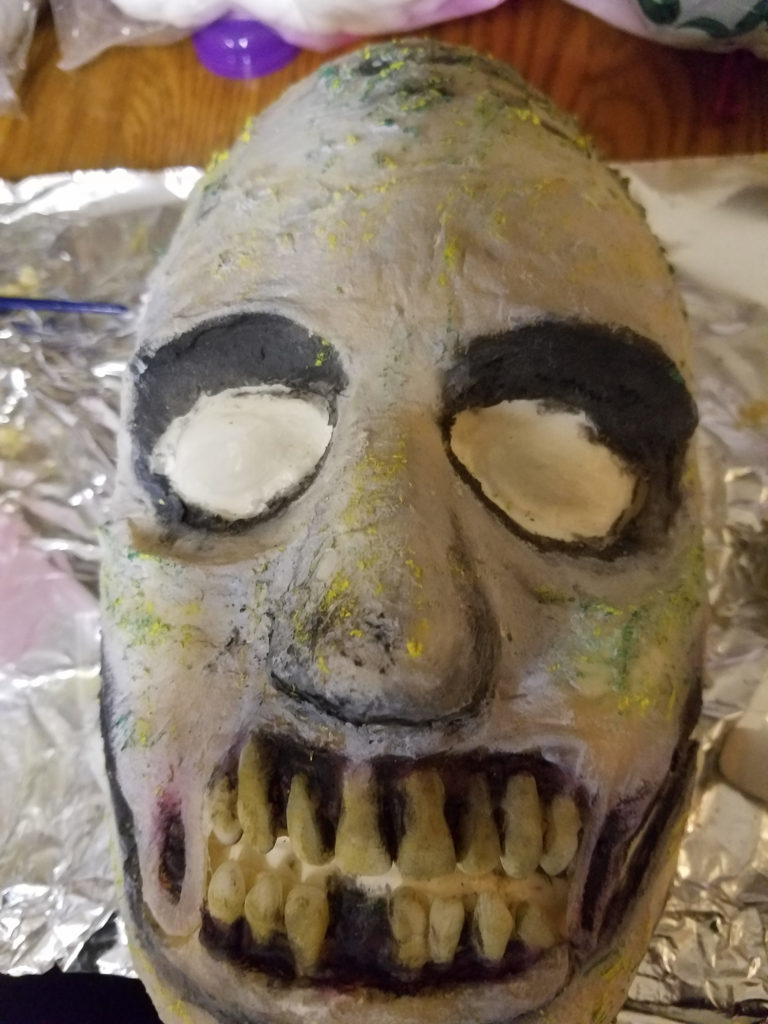
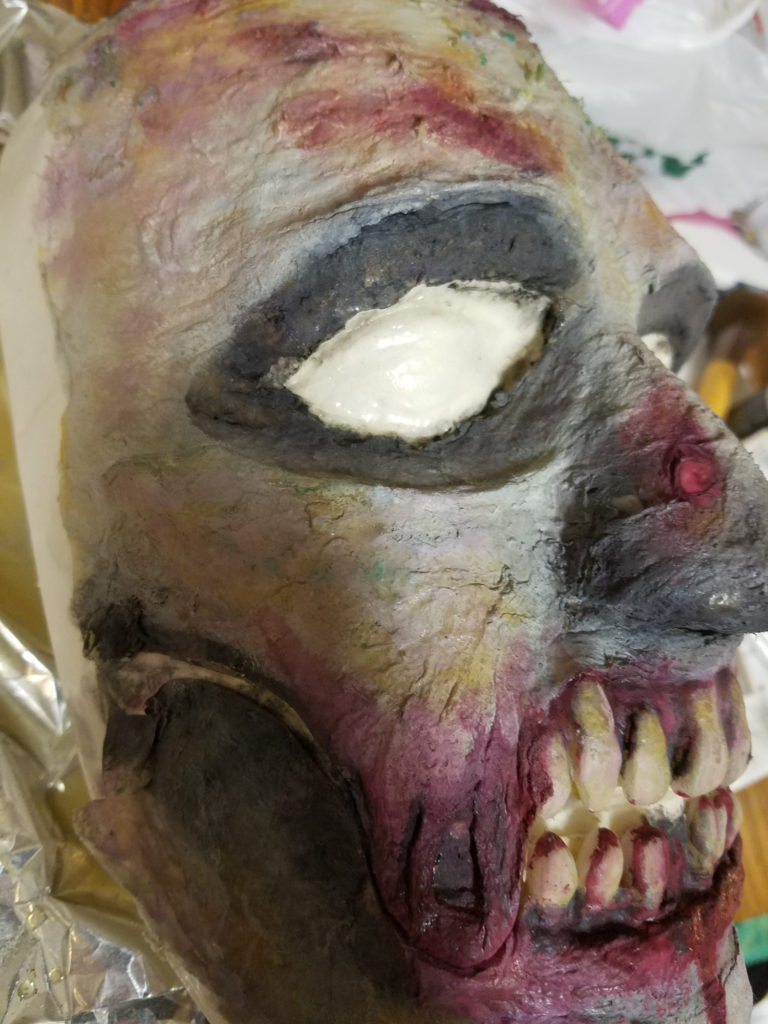
I blended the yellow and green out a bit using some makeup brushes, then added some of the white makeup stick to the teeth for a little extra shine.
Then blended the white out for a more subtle shine.
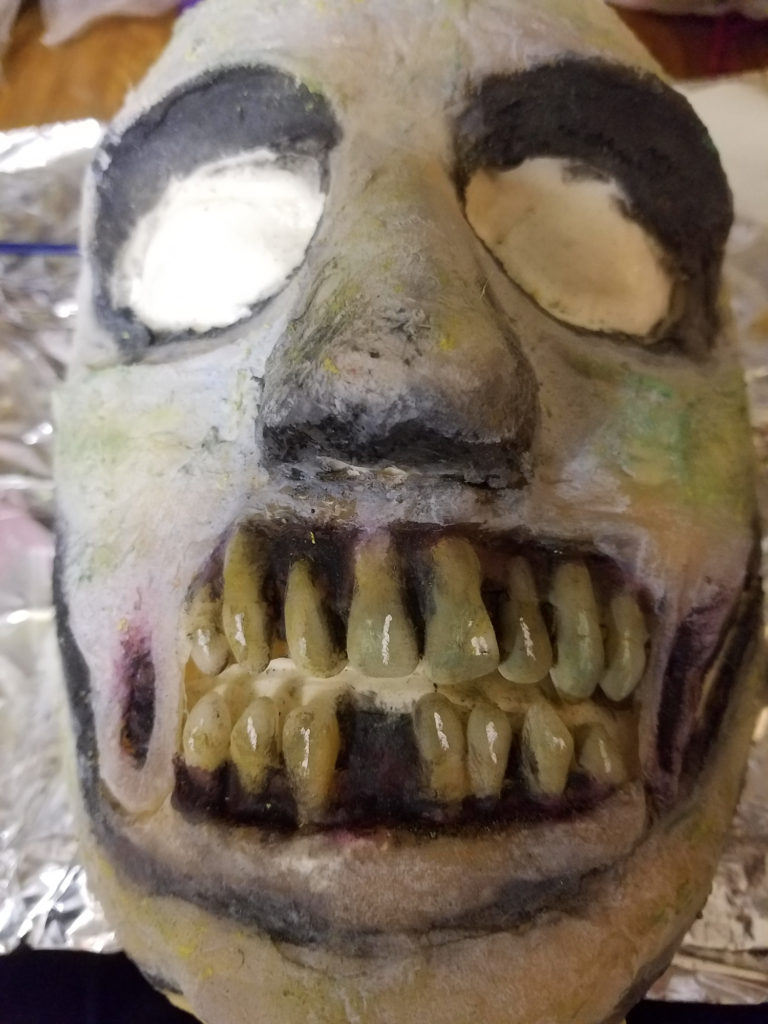
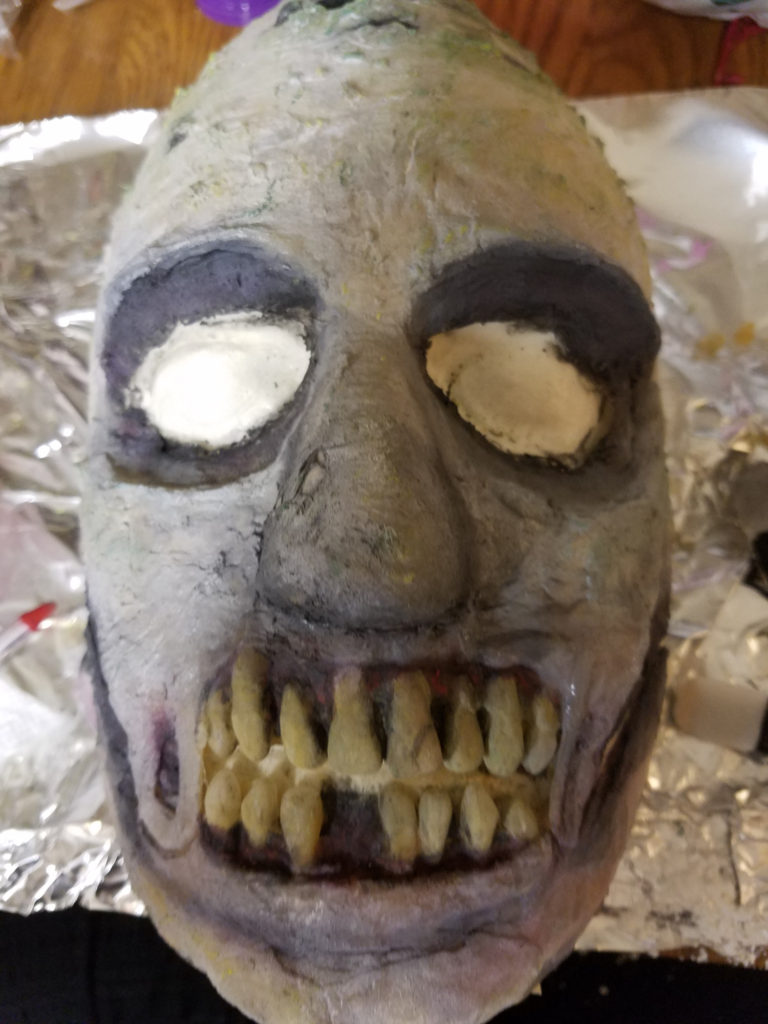
Next I added some of the red makeup stick along the gums. I also blended out some of the black around the eyes.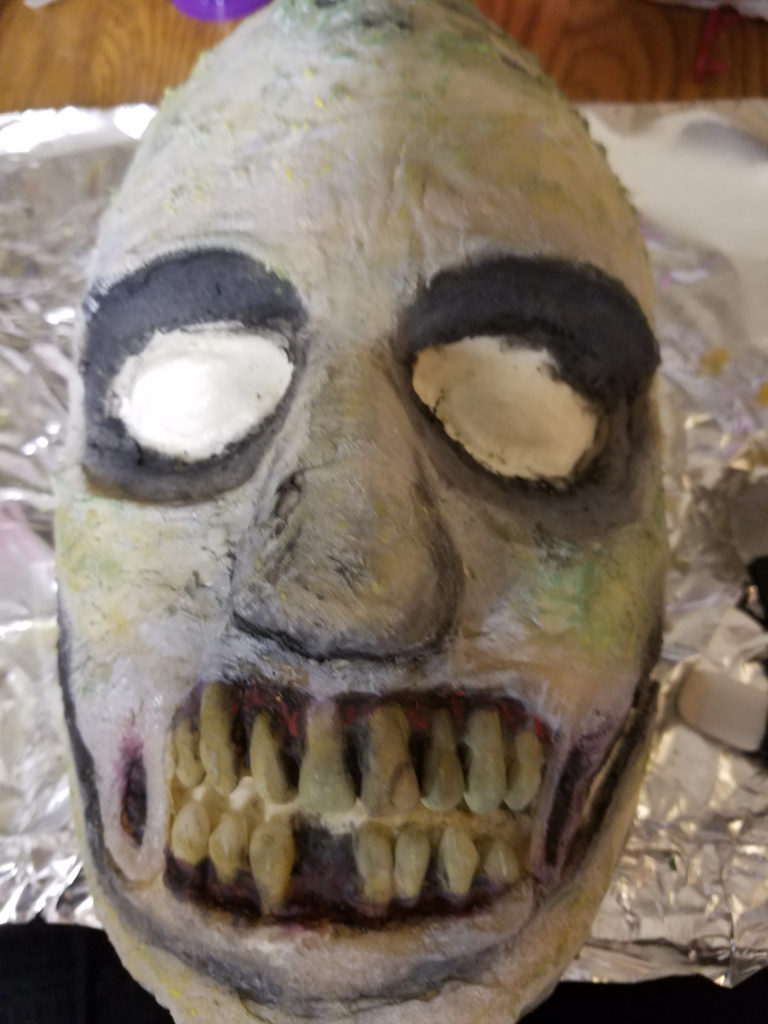
Next, I blended the red and added some more black to the nose.
Then I decided I didn’t like that much black on the nose and went over it with some more gray. I also did a bit more blending.
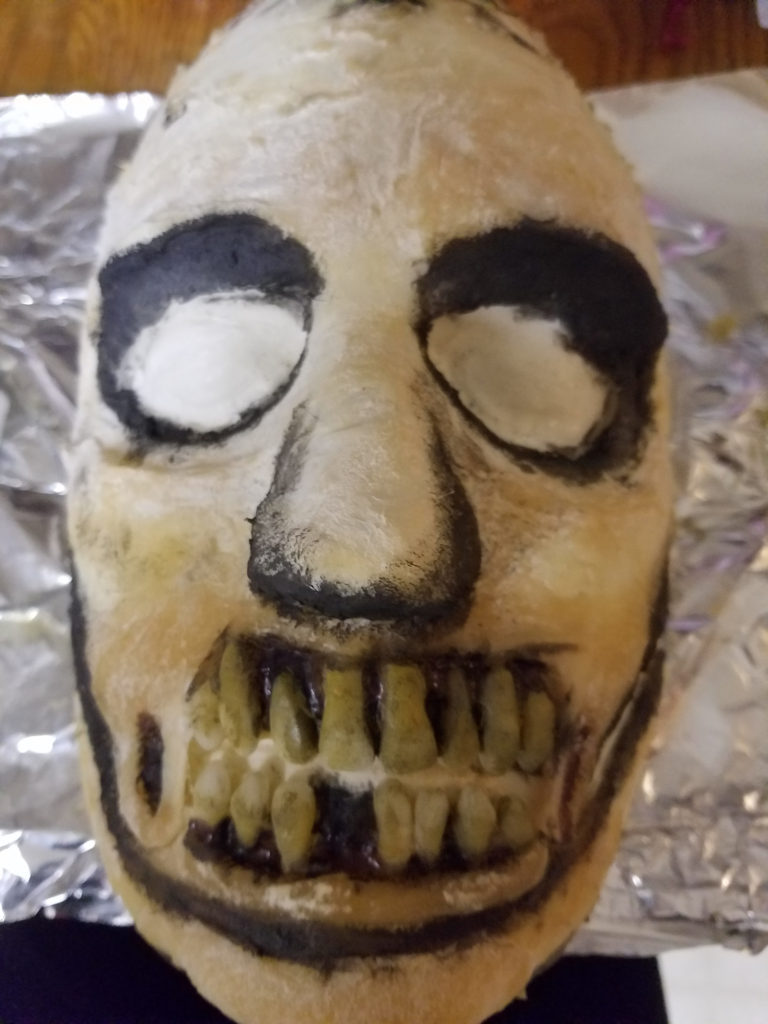
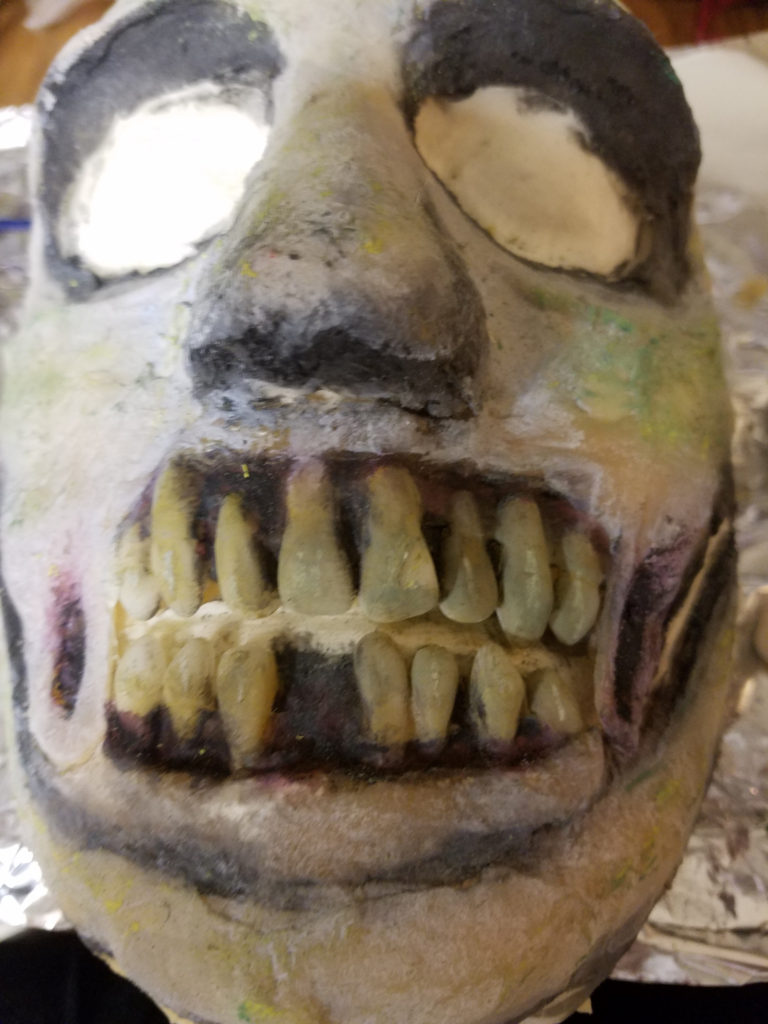
Then the red makeup stick attacked!
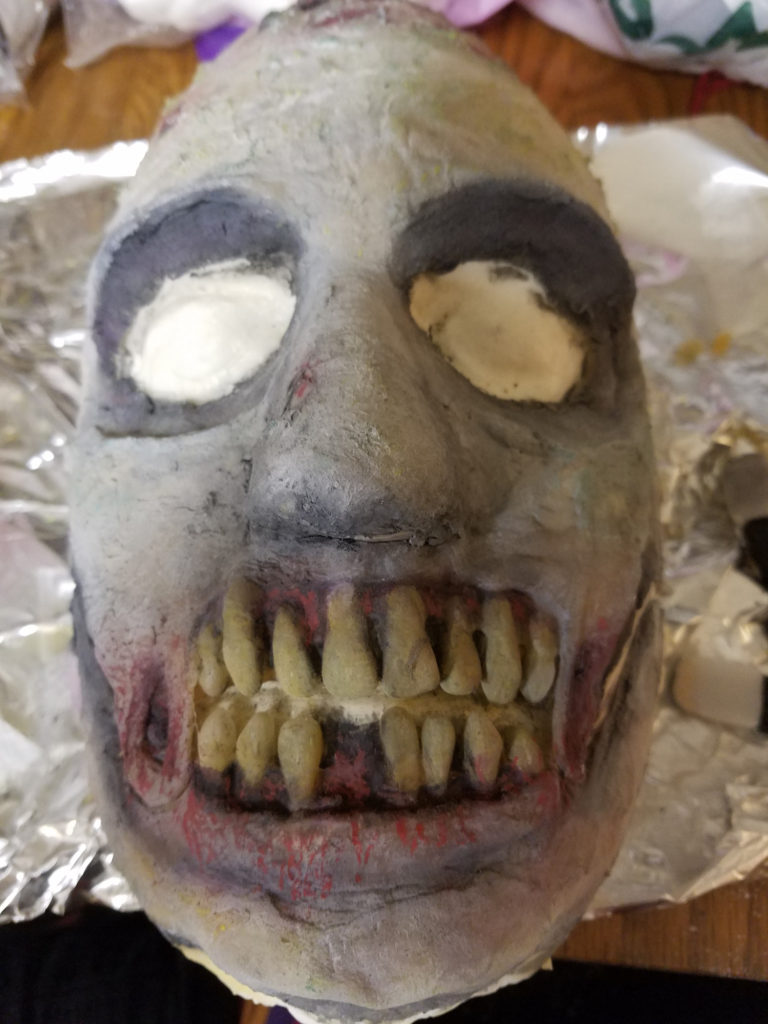
Next, the zombie had a small snack, so I added some red makeup along the teeth and mouth to look like blood. Then using a makeup brush, I alternated between red, yellow, and purple makeup to create a bruised effect all over the skin. At some point, the nose got dark again.
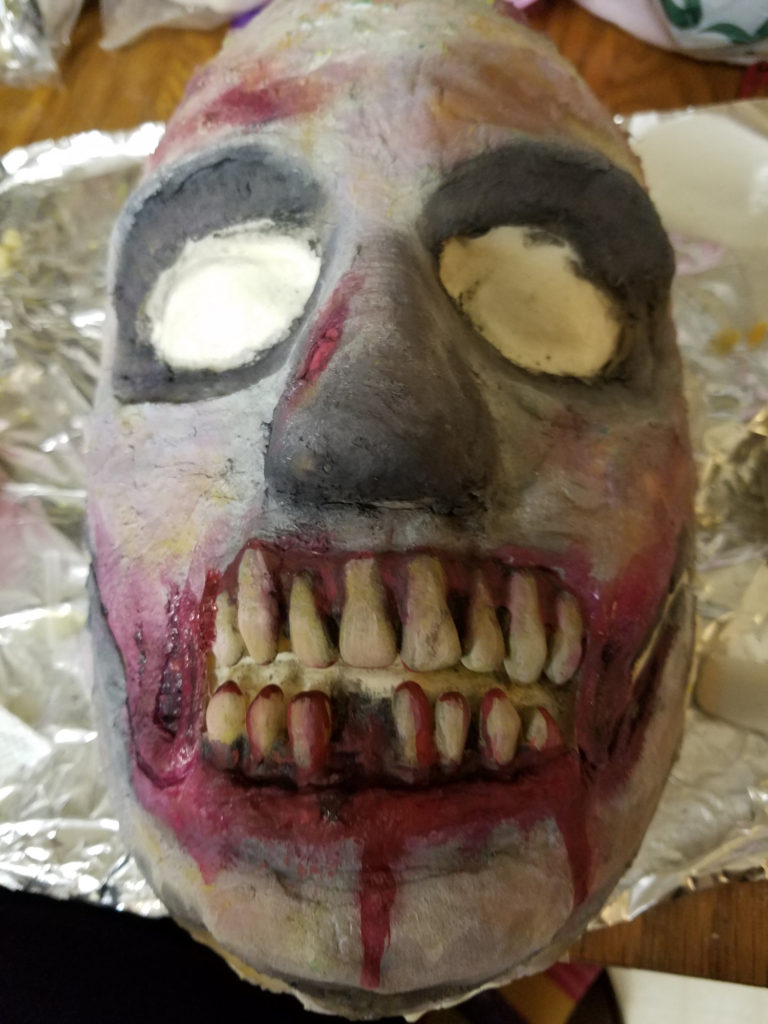
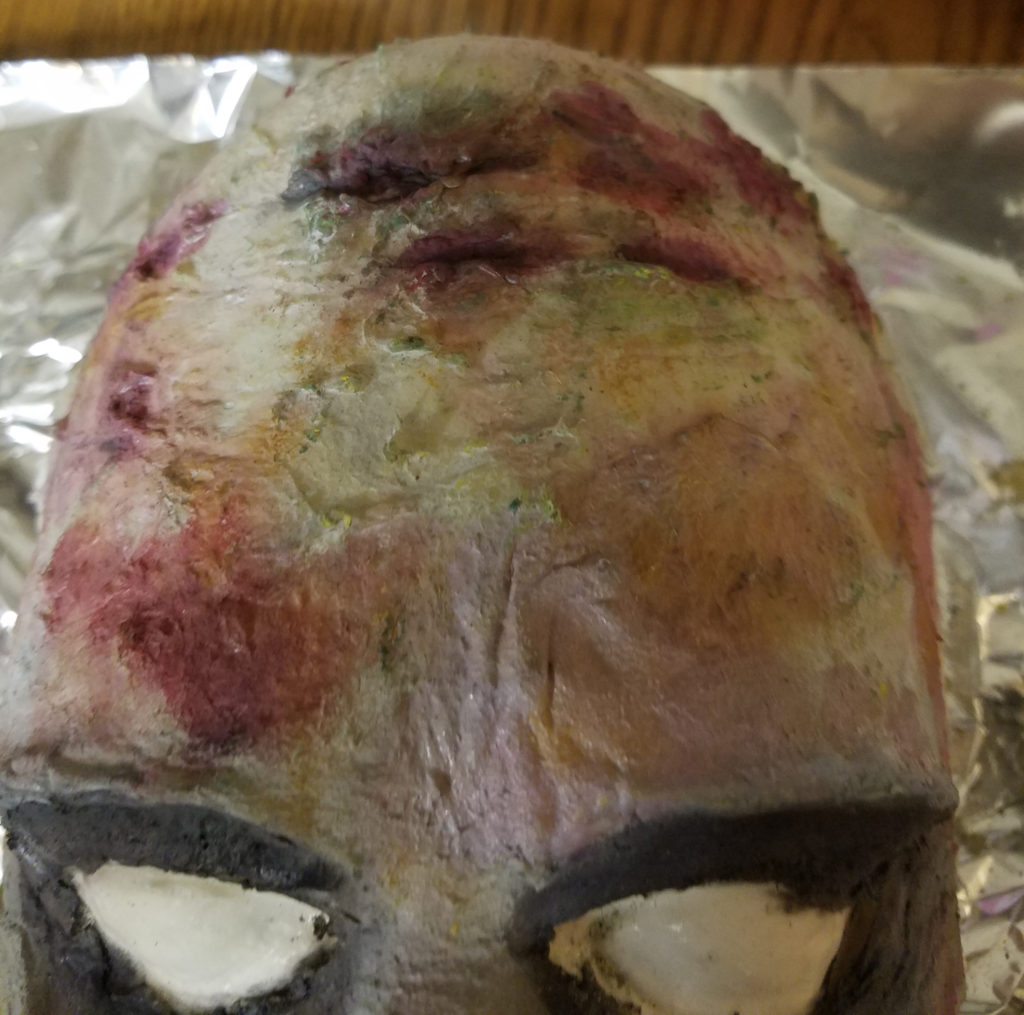
I didn’t forget the forehead! I used some of the red makeup to add blood inside the forehead creases.
Once I was happy with the look, I added some more setting powder…
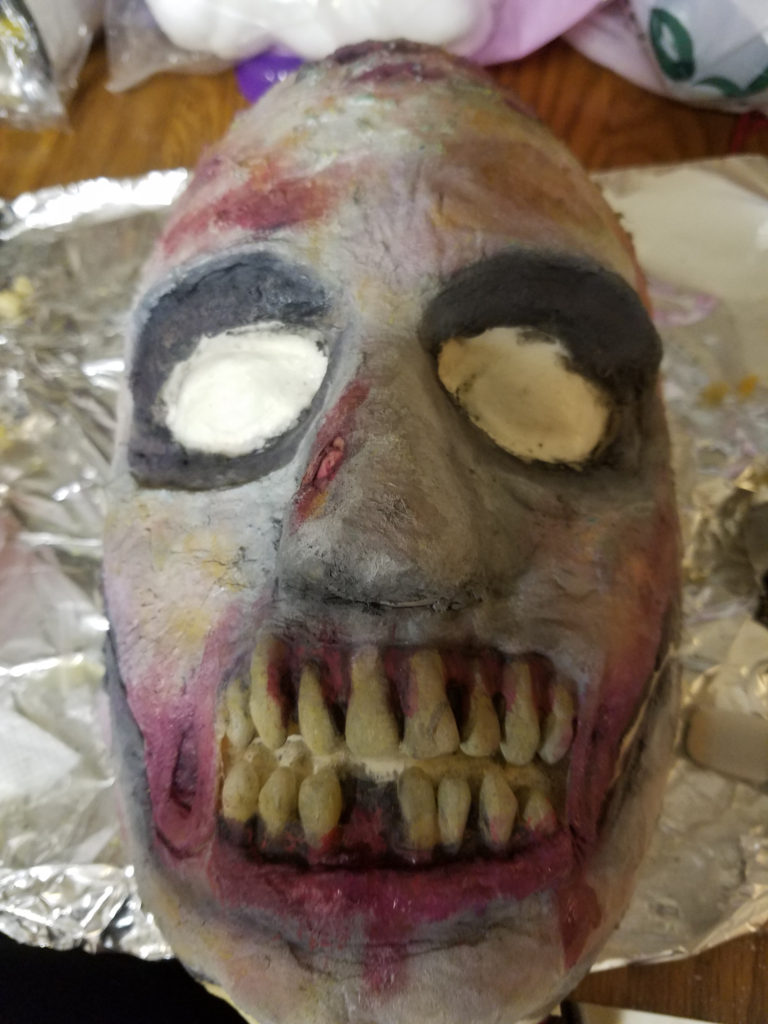
Then sprayed it with some barrier spray. So shiny!

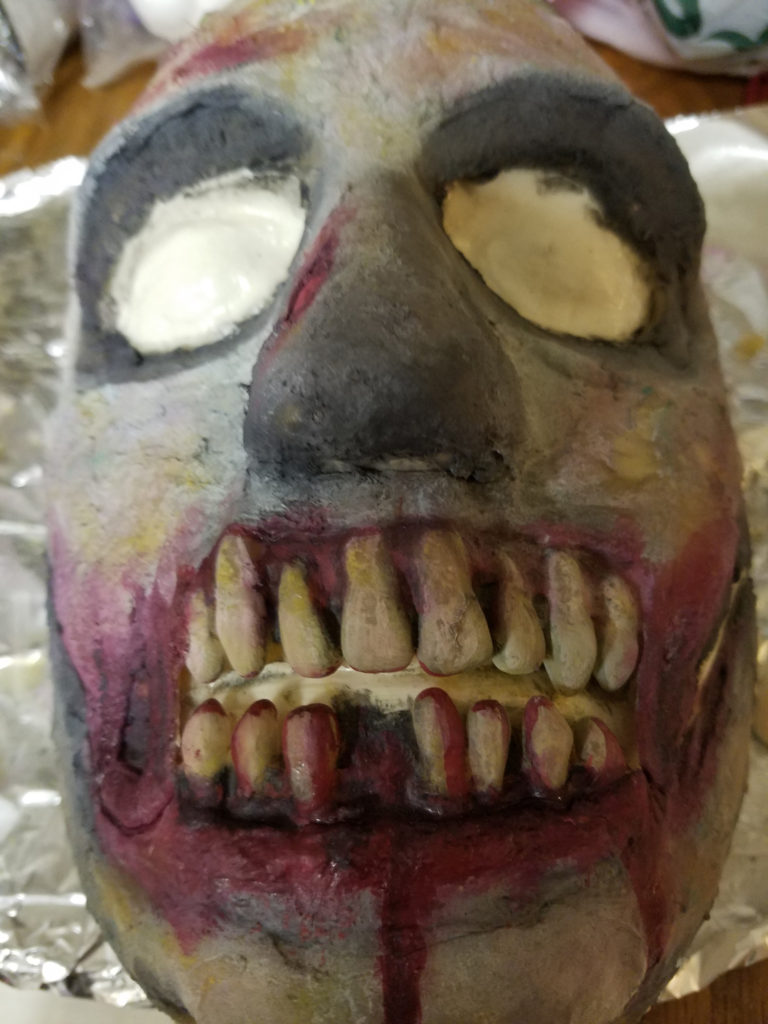
The Result
Once the barrier spray dried, the result was much less shiny.
I’m sure I accidentally left some steps out, but I hope the pictures show enough of the process that you can follow along. The best part about zombie makeup is that you can experiment with it as much as you’d like! There’s really no right or wrong way to do it, so remember to have fun!