
Welcome back! In this post I’ll be going over how I built an oversized puppeted hand for my Big Daddy cosplay costume.
If you missed the earlier installments, check out Part 1 and Part 2.
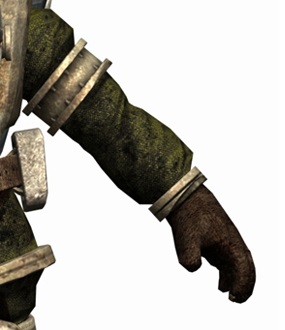
I knew that, due to the width of my costume, my elbows would be acting as shoulders, so I would need to make my arms longer. Big Daddies also have freakishly large hands, so I would need to make a much larger hand than mine.
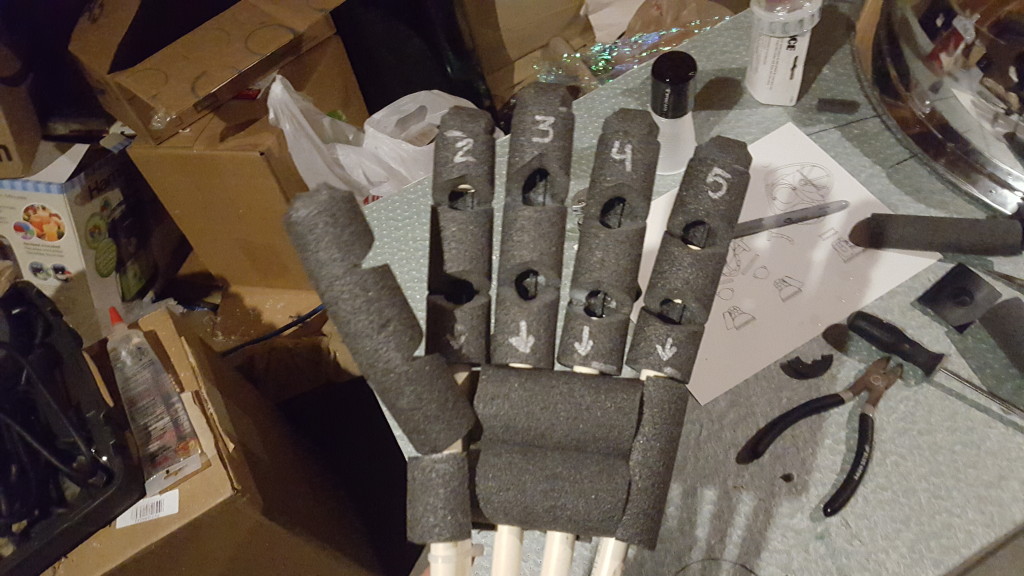
The plan was to make enlarged fingers from foam that would contract when I pulled on strings.
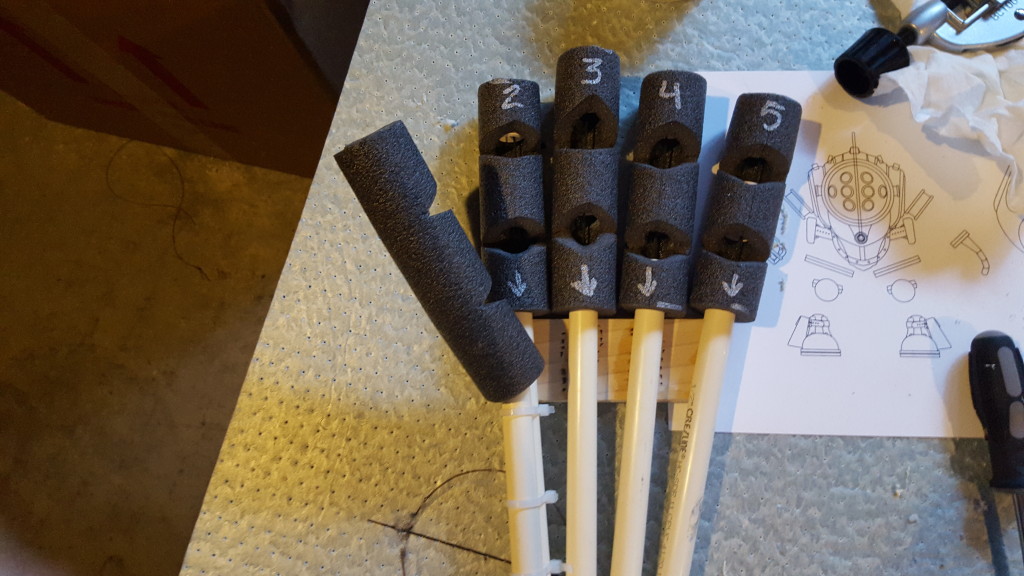
I took some foam tubing meant to insulate half-inch piping. I then started winging it. I cut several pieces of foam to make something that looked basically hand-ish, but longer than my hand.
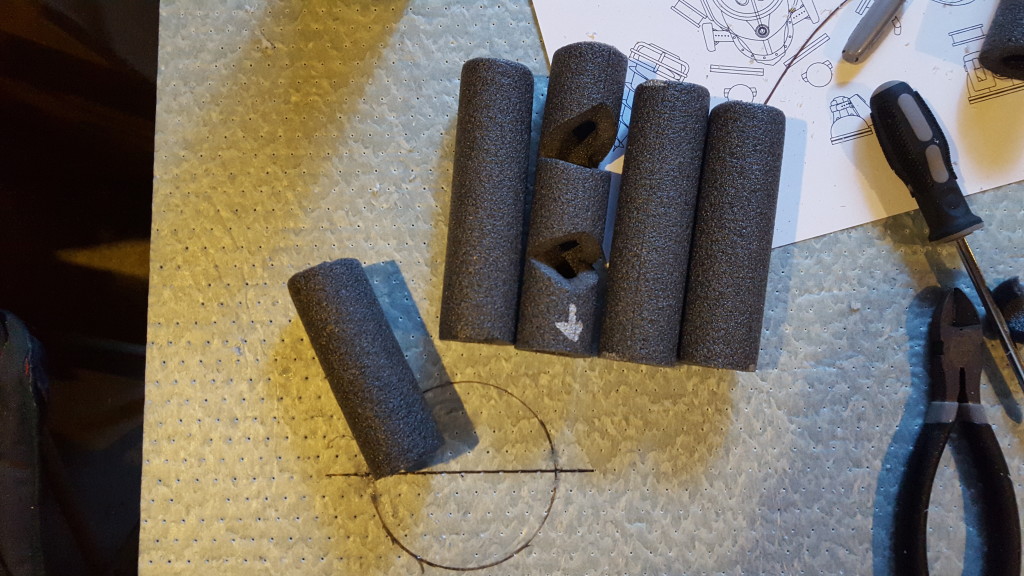
I compared it to my hand and cut some notches where I wanted the fingers to bend. I figured the foam was rigid enough to straighten the fingers when I wasn’t pulling the strings on my puppet hand.
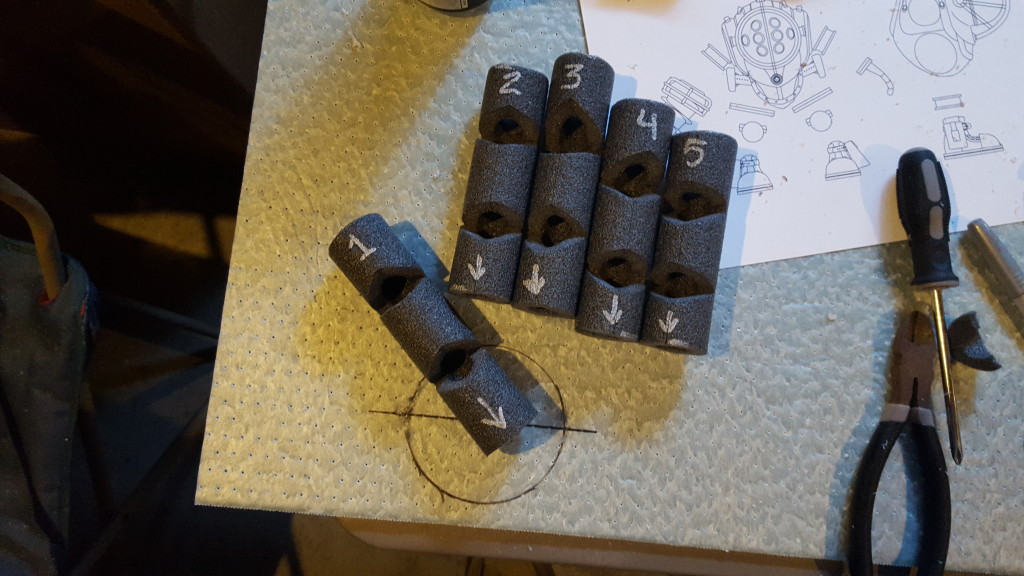
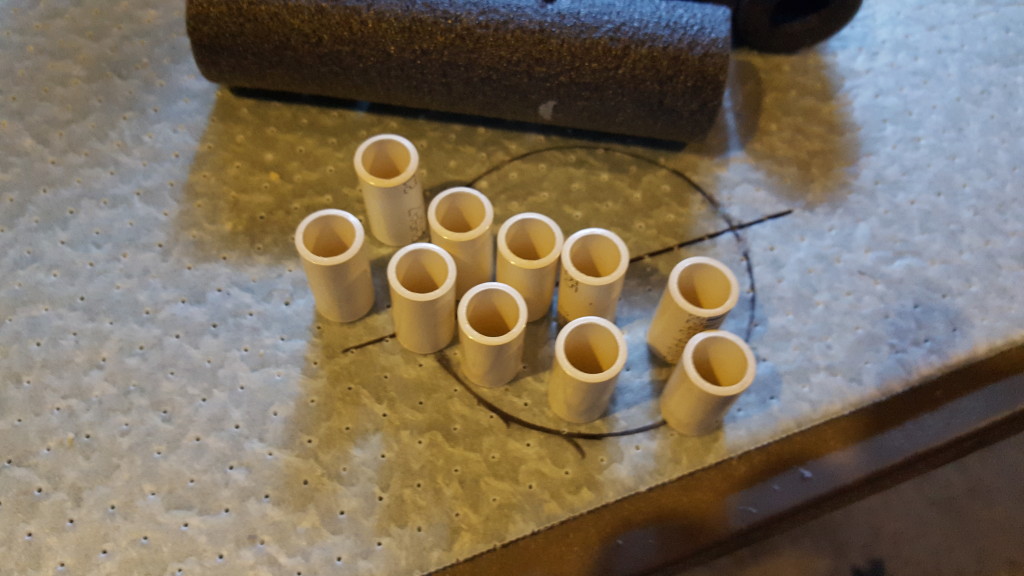
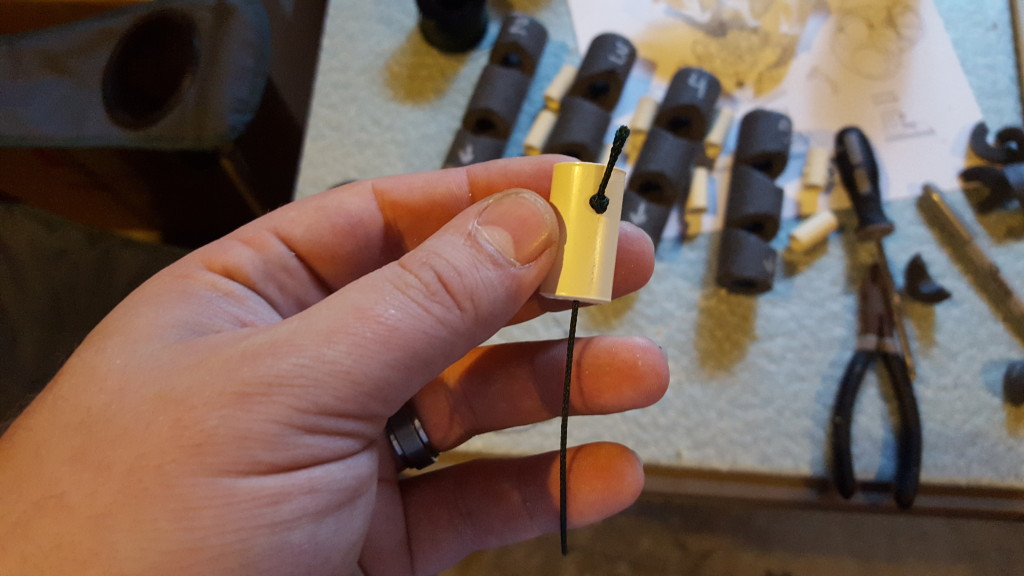
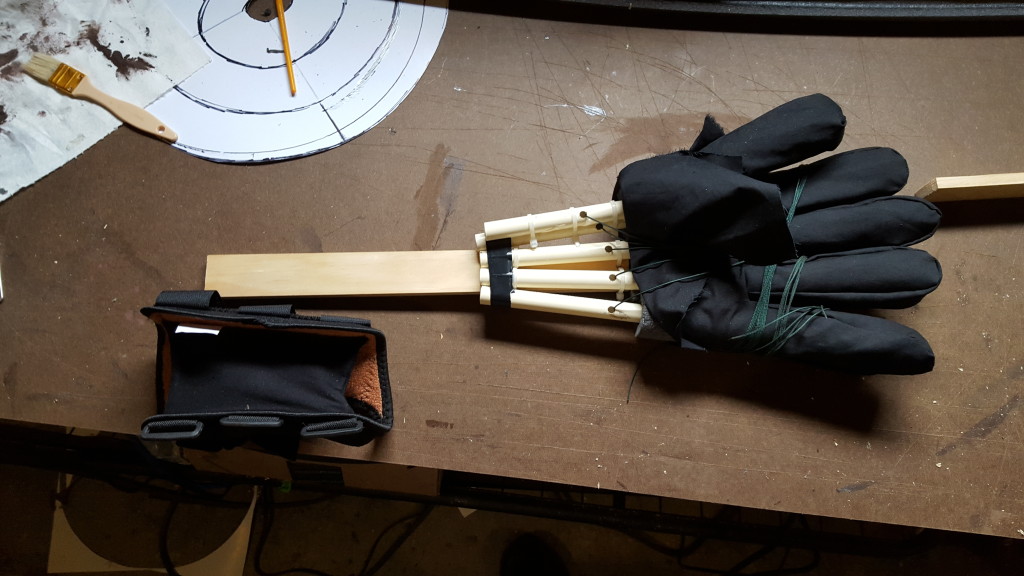
The next step was to start reinforcing these fingers. I decided to cut up some more of the CPVC tubing and glue it into the foam sections.
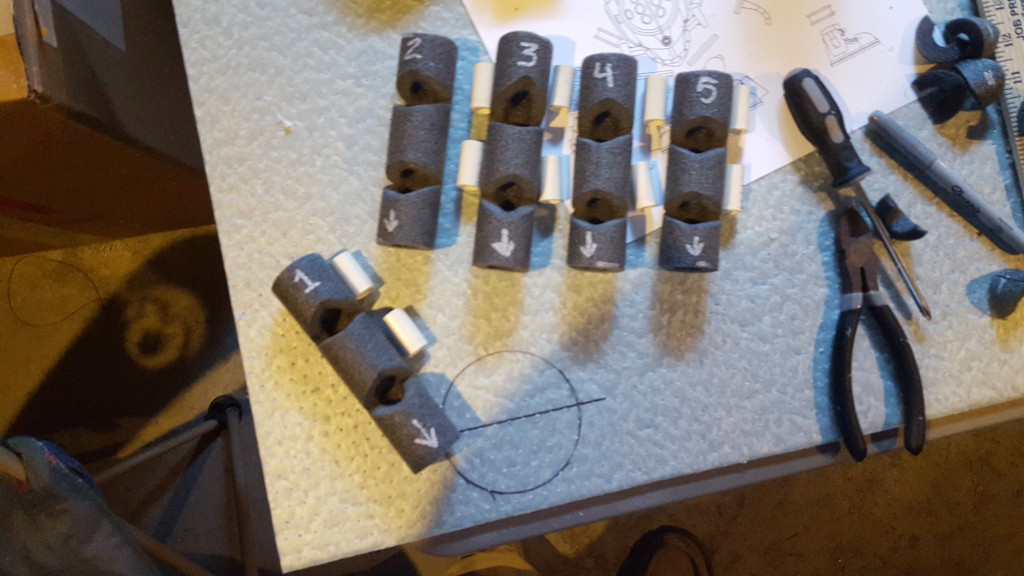
I also took this opportunity to thread my strings through the fingers.
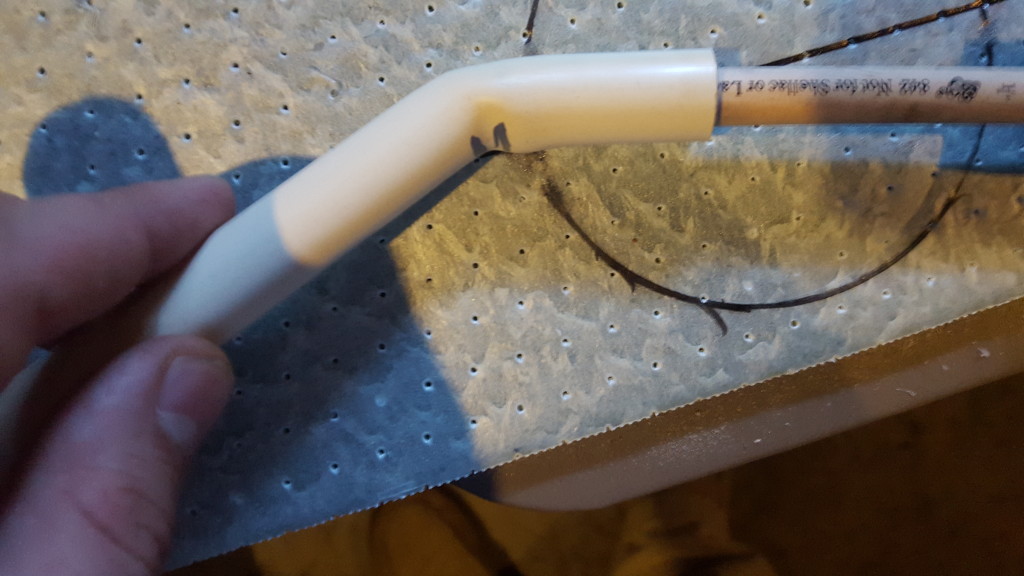
I knew I was going to have to bend some tubing later on, so this seemed like a nice opportunity to give it a try. I planned to make the metacarpals from more tubing, but I’d have to bend the base of the thumb.
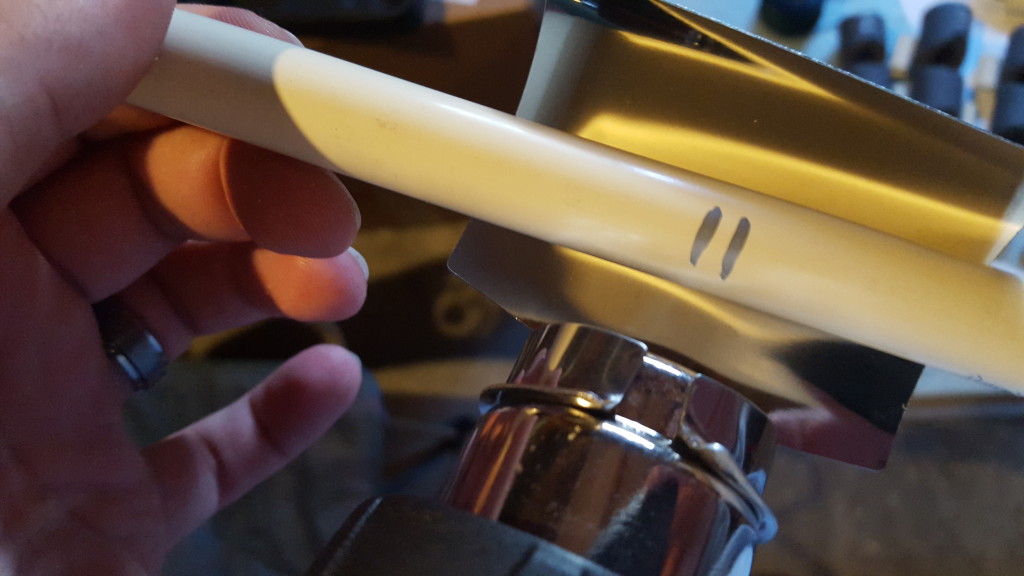
The tube was really, really hot so I used the handle of a cheap foam brush to hold the bend while the tube cooled.
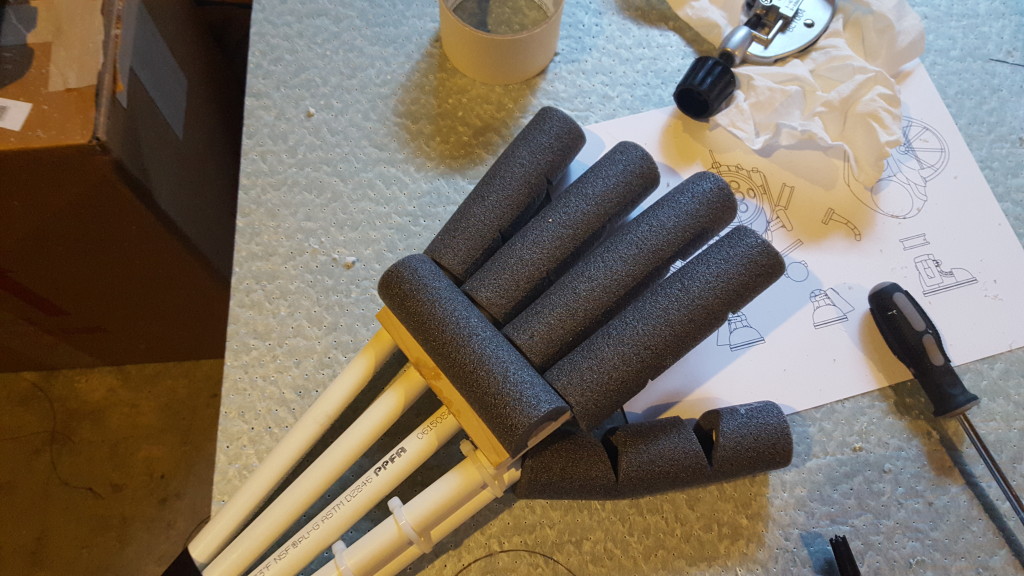
The next step, once I had all the tubing glued in place, was to roughly assemble the hand.
I used a combination of gluing the hand to small-scrap wood pieces, zip-ties, tape, and epoxy to anchor the thing together.
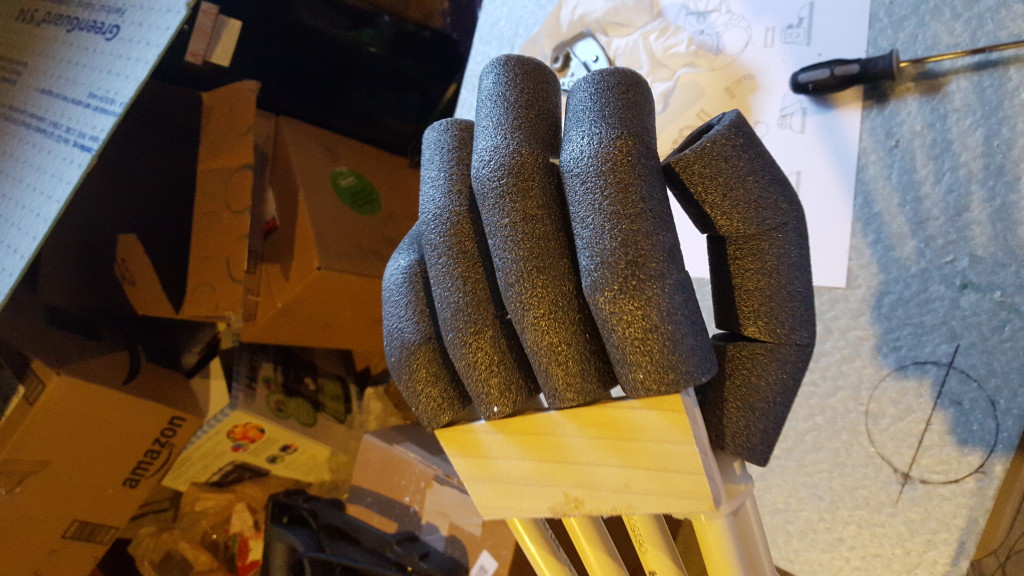
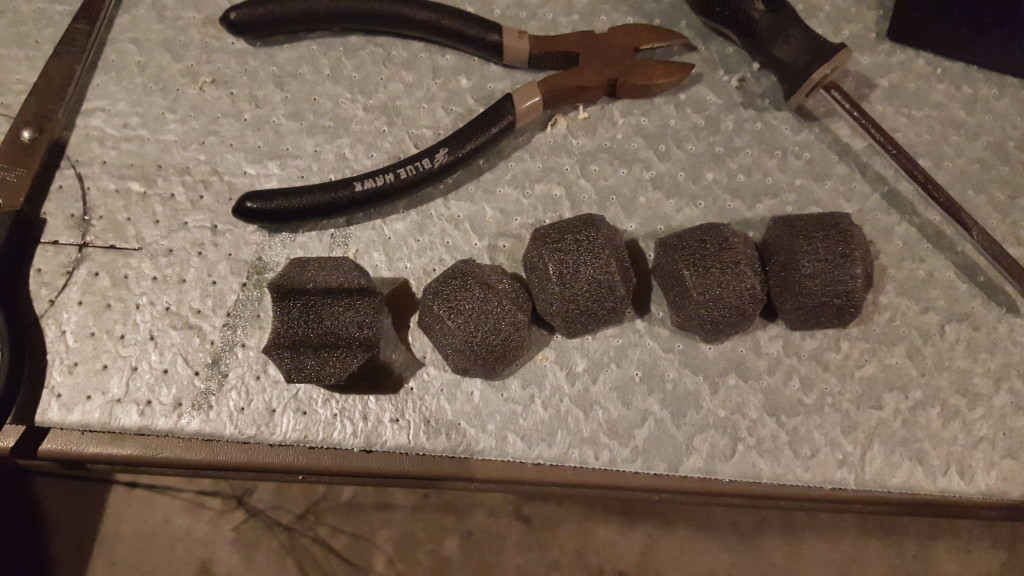
The next step was to smooth everything a little. I didn’t want the hand to have sausage fingers attached to a skeleton, so I added some foam to round out the fingertips and make the hand a little more hand-shaped.
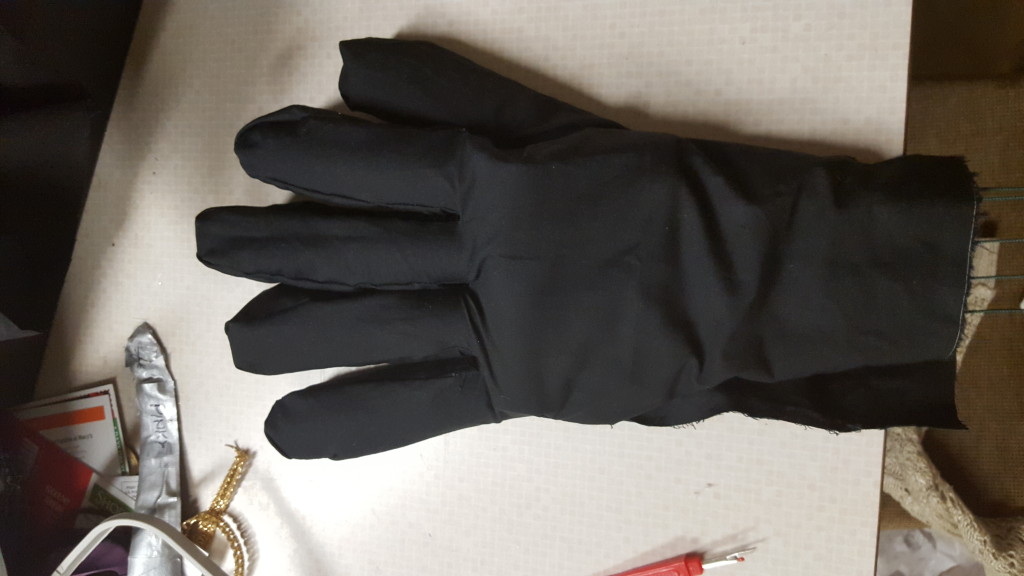
Once I decided the hand looked good enough, it was time to make a pattern for a glove.
I wrapped the whole hand in foil, then covered it with a layer of duct tape.

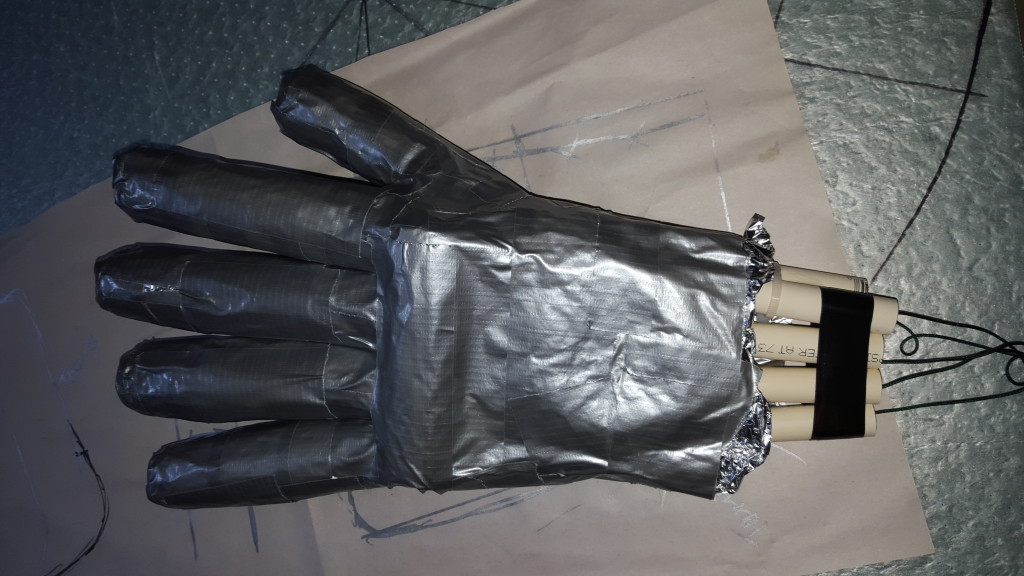
I very carefully cut the duct tape/foil off to make a pattern after I read up on glove-making so I had an idea of where to cut.
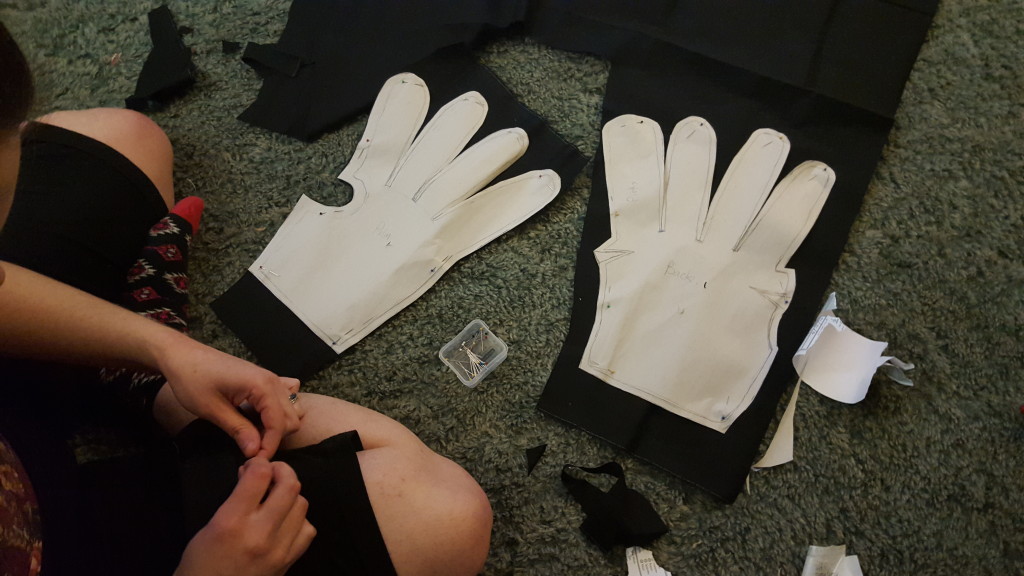
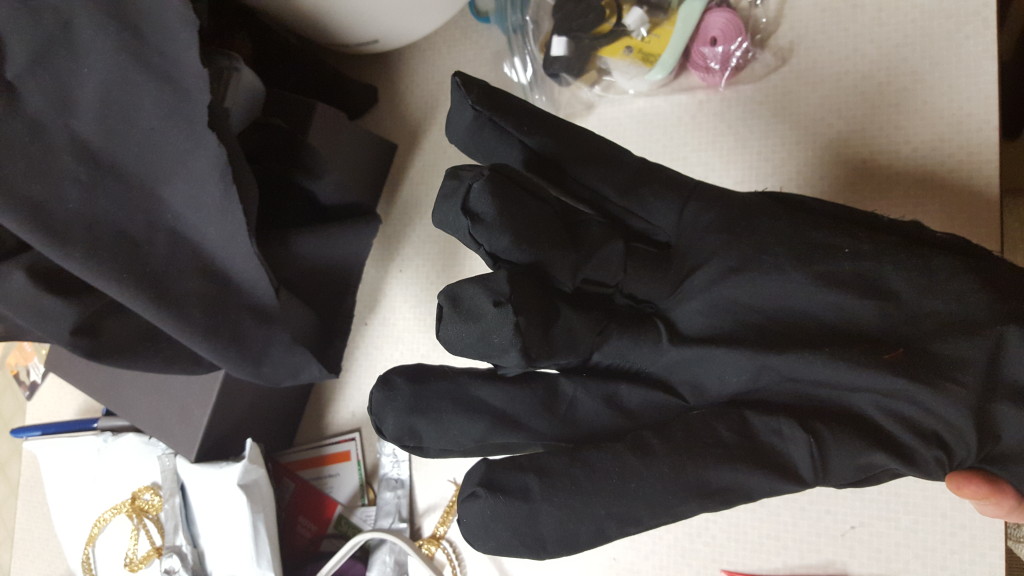
I then turned it over to my wife and she started transferring things to paper.
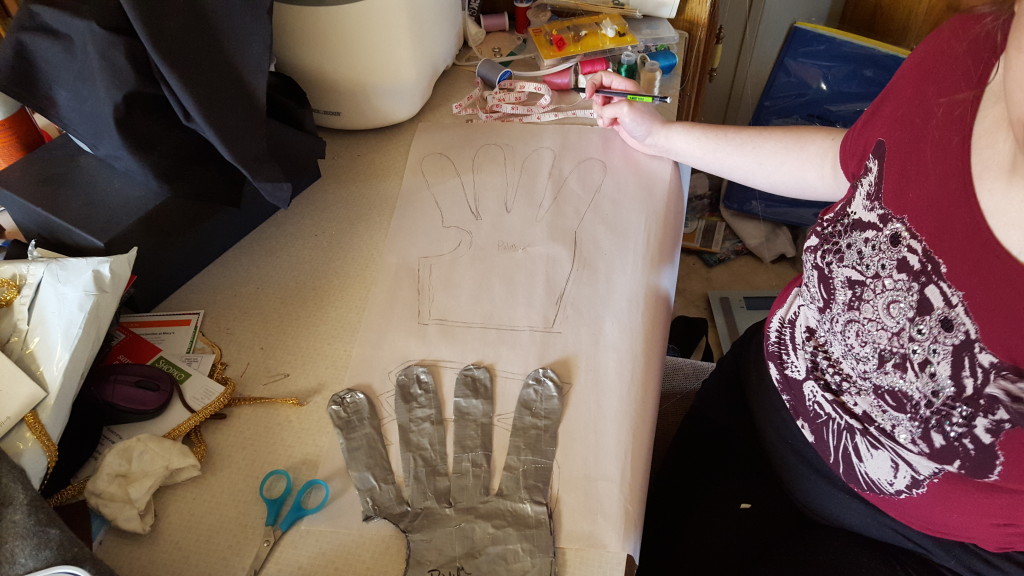
After she transferred it to paper, she transferred it to cloth and sewed it all up.
Finally, I mounted the whole hand to a board so I could attach it all to a wrist brace.
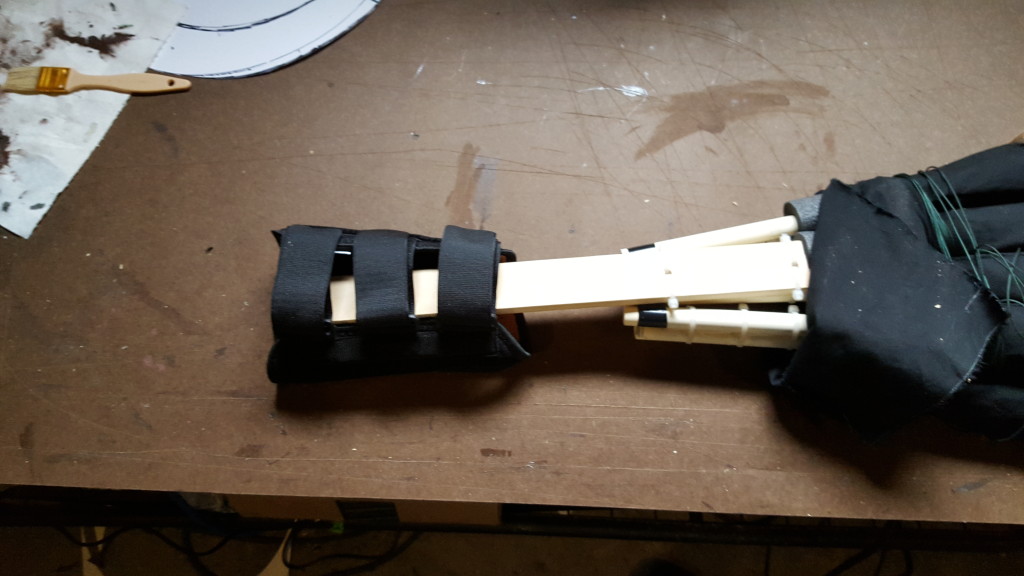
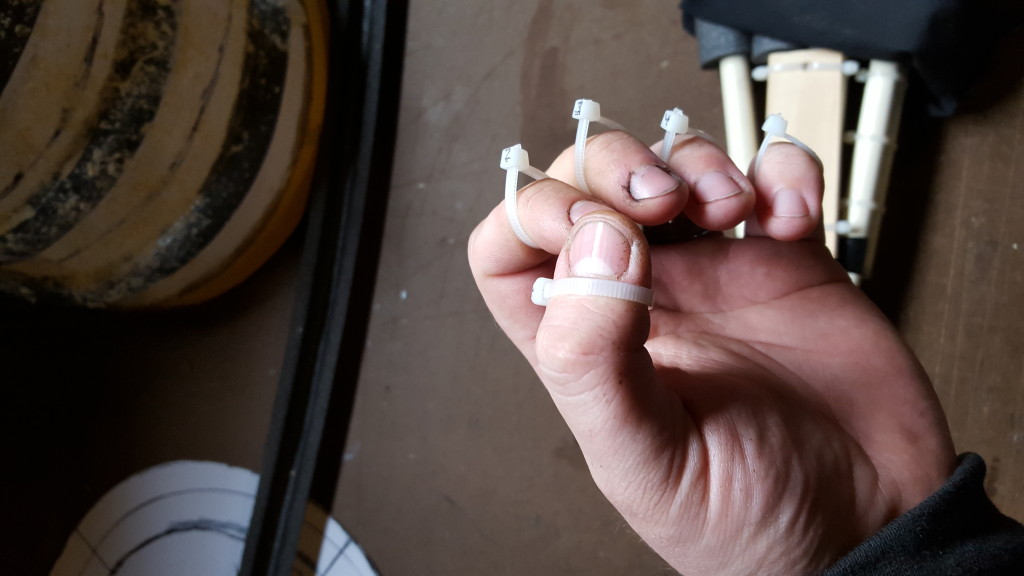
I ended up making some rings out of zip ties and tied the ends of my cords to them so I could flex my fingers and have the hand make the same motions.
Next, it’s time to make a drill arm! Stay tuned for the next part!